We are currently still building up the English documentation; not all sections have been translated yet. Please note that there may still be German screenshots or links to German pages even on pages that have already been translated. This guide mostly addresses English speaking users in Germany.
Setting up the Swissbit TSS
Your task/initial situation
Supported fiscal modules
JTL-POS generally supports the following fiscal modules from Swissbit:
Compatible devices
Swissbit’s fiscal modules can currently be used with the following cash register devices in combination with JTL-POS:
The following cash register devices are currently not compatible:
Swissbit microSD: Android 11/12/13 compatibility issues
Swissbit does not currently support any Android 11 devices for the microSD solution as multiple changes to the operating system by Google cause incompatibility. We also strongly advise against using Android 12 and 13 as we have observed compatibility issues with those as well.
The provider Swissbit is working on a solution. Further details are currently unknown to us, but will be published here as soon as available.
Step 1: Setting up the TSS
The first step is to set up the TSS in JTL-POS.
- Switch off the cash register device.
- Insert the fiscal module into the designated slot of your cash register device.
- Switch on the device and start JTL-POS.
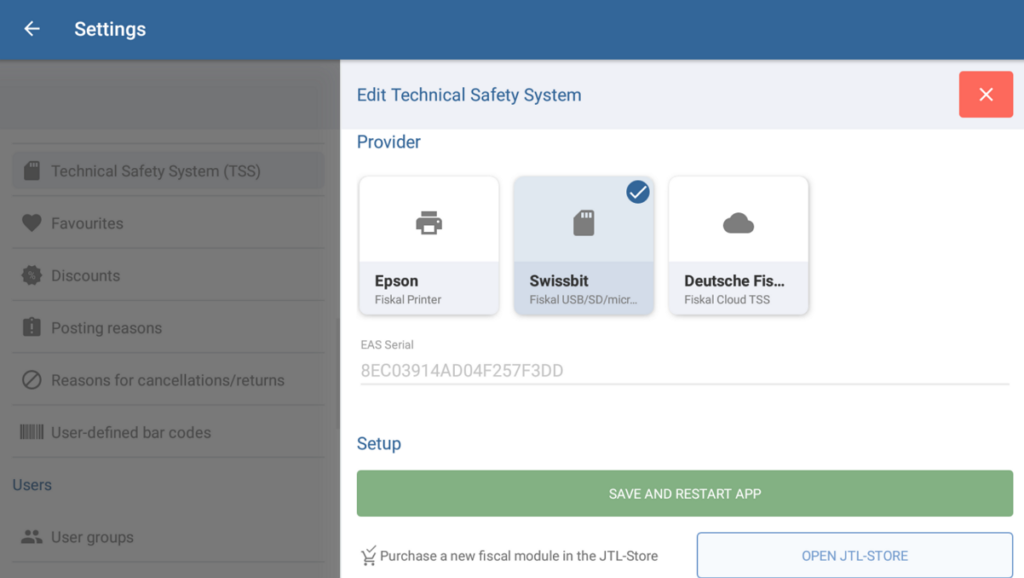
- Go to the JTL-POS menu and select Settings > Technical safety system. The dialogue Technical safety system opens.
- Tap on the pen icon to edit the TSS settings.
- In the Technical Safety System section, select the option Swissbit.
- Tap Save and restart app. JTL-POS is automatically restarted and initialises the connection to the technical safety system.
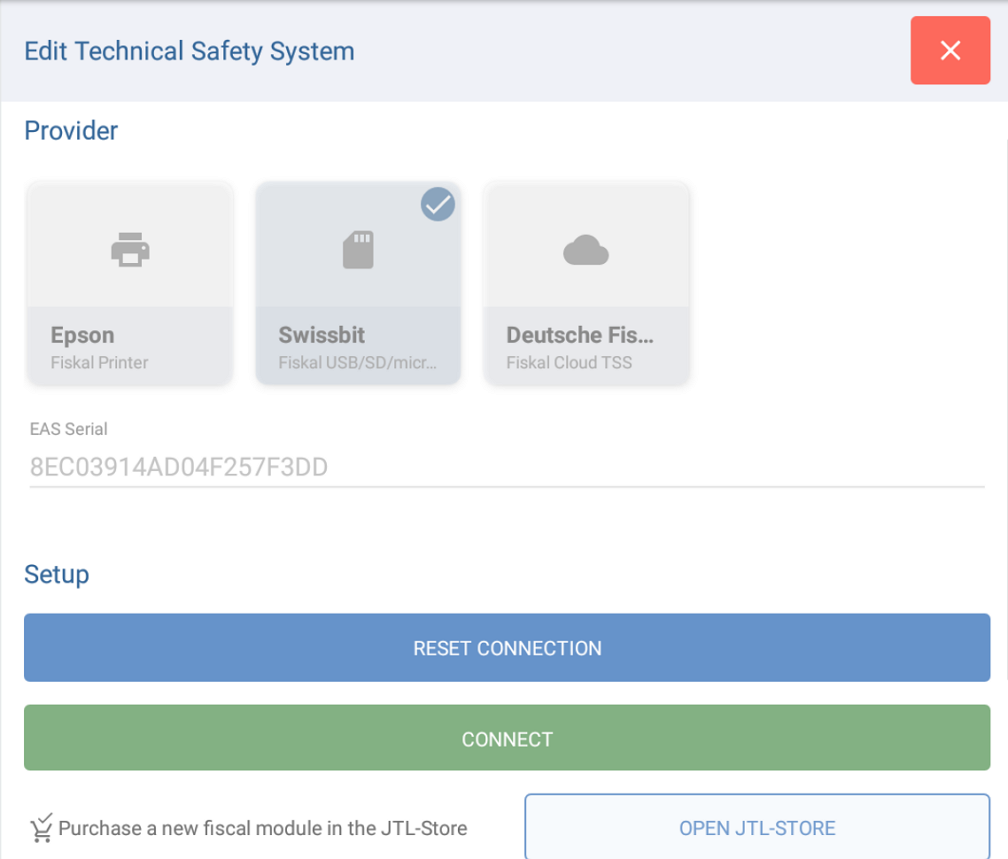
- Once JTL-POS is running again, open the Technical safety system dialogue again via Settings > Technical safety device and tap the pencil icon to continue the set up.
- Tap on the now visible Link button.
- In the following dialogue, select whether the TSS is newly set up (option: New TSS) or has already been used with another POS system (option: TSS currently in use).
- The technical safety system has been successfully set up and is active in the background. Note that there may be short delays in the checkout process due to the additional process.
- The technical safety system is now starting up. Wait until successful setup is confirmed by a receipt with the specified PINs and the PUK along with other important information related to the TSS setup. Keep this information safe, otherwise the TSS will no longer be accessible.
A new icon indicating the status of the TSS is now displayed in the top right corner of the cashier dialogue. If the icon is red, the connection to the TSS has been interrupted. Tap the icon to initiate reconnection. For more information, please read the TSS failover help page.
Step 2: Add the TSS information to receipts and business expenses receipts
You must also add the information about the TSS to all receipts and business expenses receipts. Go to Setting up print templates for receipts to learn how to add variables to receipts and business expenses receipts. To do this, use the following variables:
If the TSS signature QR code is not printed correctly, add a line break before the $tse_qr$ variable: <BR>

