We are currently still building up the English documentation; not all sections have been translated yet. Please note that there may still be German screenshots or links to German pages even on pages that have already been translated. This guide mostly addresses English speaking users in Germany.
Performing an inventory with JTL-WMS Mobile
JTL-WMS Mobile supports the counting process during inventory. An inventory created in JTL-WMS can be counted using JTL-WMS Mobile. This prevents the items and storage locations from being mixed up. After the fact, it can be seen exactly which employee scanned which storage location and which item at what time.
Preparation
In order to be able to carry out an inventory with JTL-WMS Mobile, an inventory must first be created in JTL-WMS. When creating an inventory, any number of storage locations can be assigned to this inventory. For example, it is possible to create a separate inventory for each shelf or each aisle and thus assign each employee a separate area of the warehouse.
JTL-WMS Mobile takes the employee to the individual storage locations of the inventory in a route-optimised way. The current stock level must be recorded at each storage location before moving on to the next location.
Starting inventory
- Start JTL-WMS Mobile.
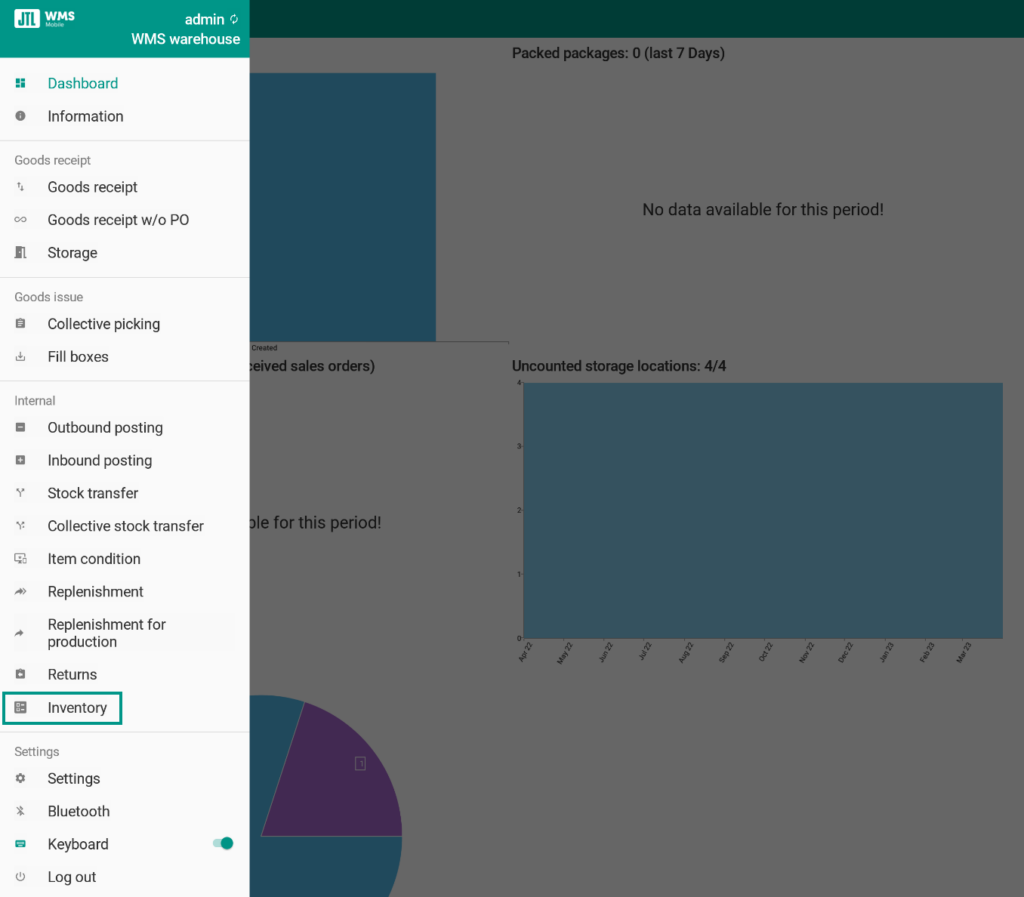
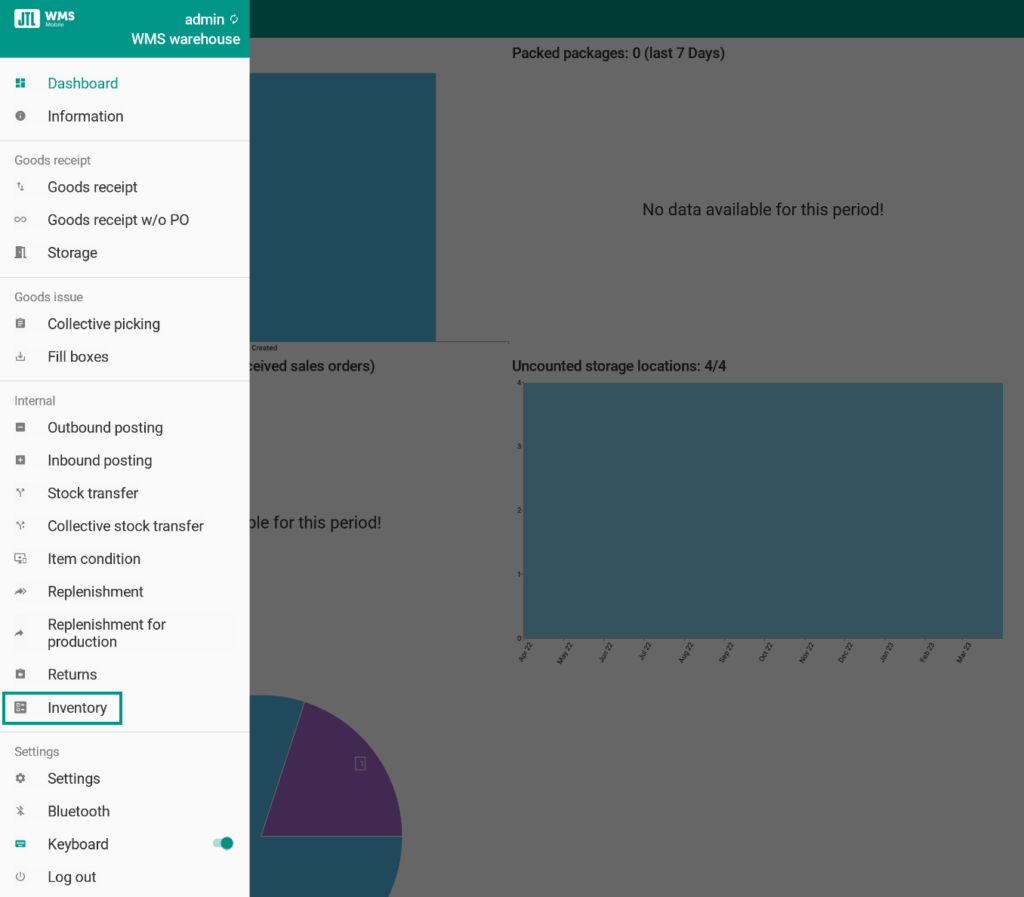
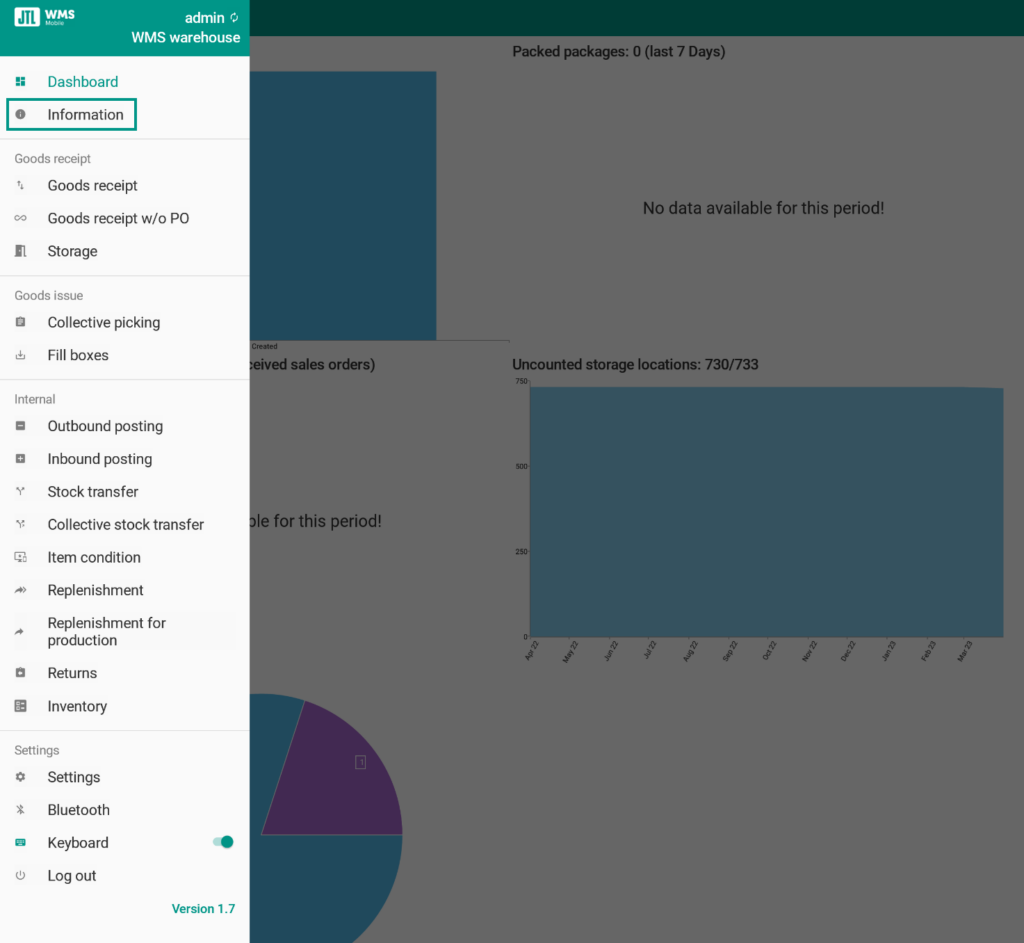
- Open the hamburger menu and select the menu item Inventory.
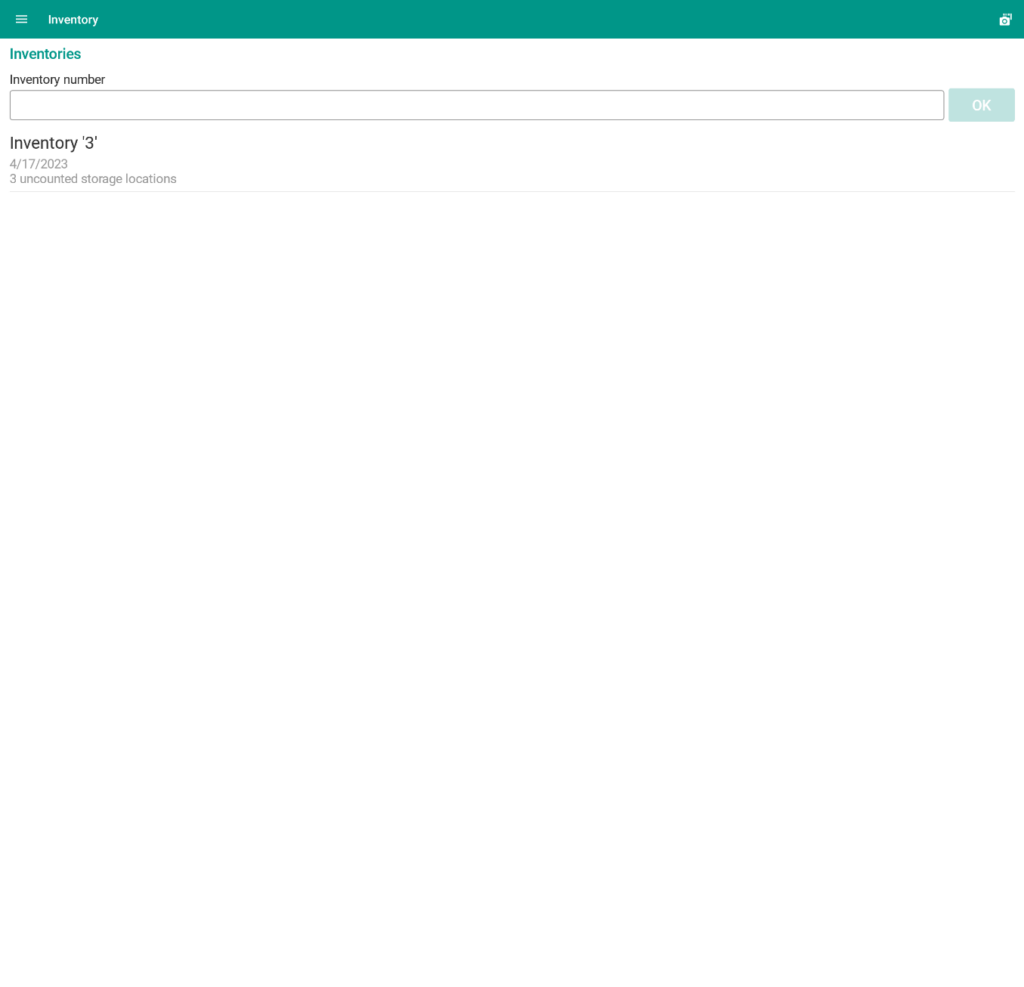
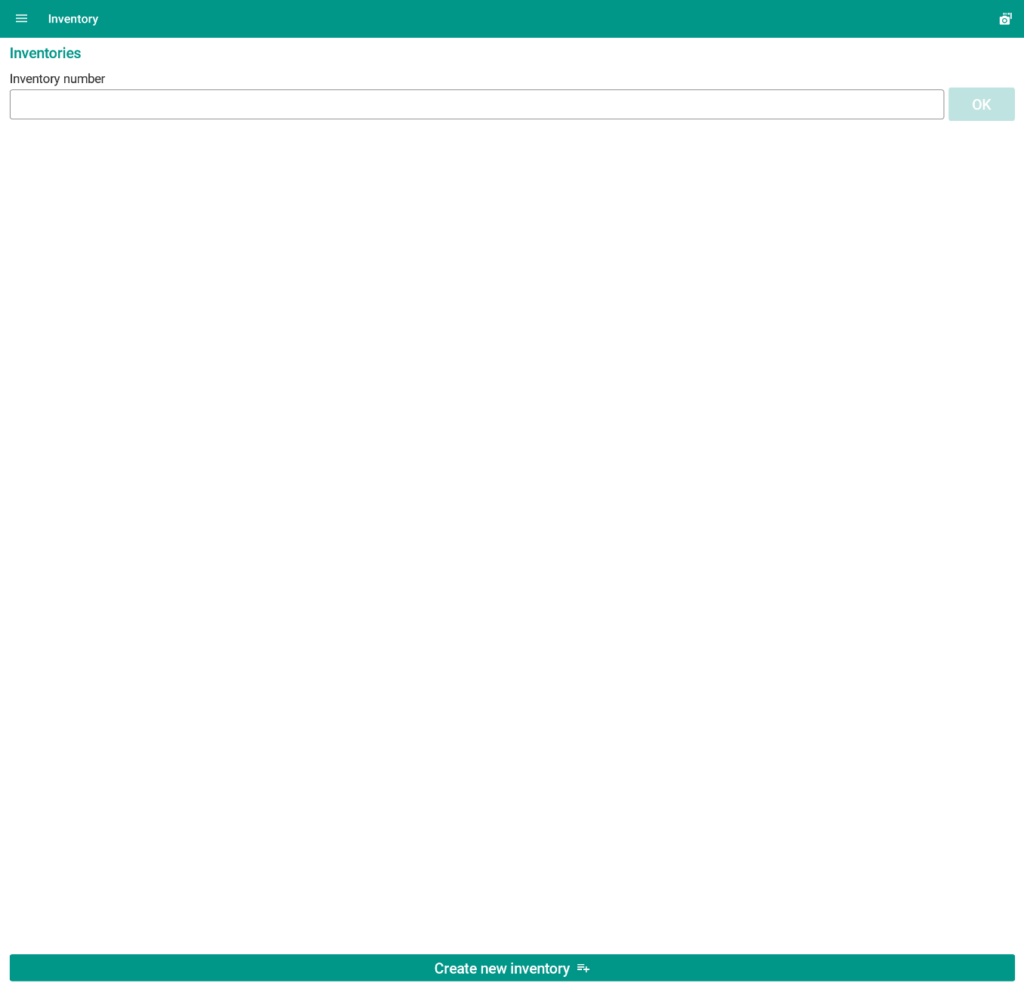
- You will now see a list of all inventories that have been created. Start an inventory by clicking on the entry in the inventory list or by entering the inventory number in the input field.
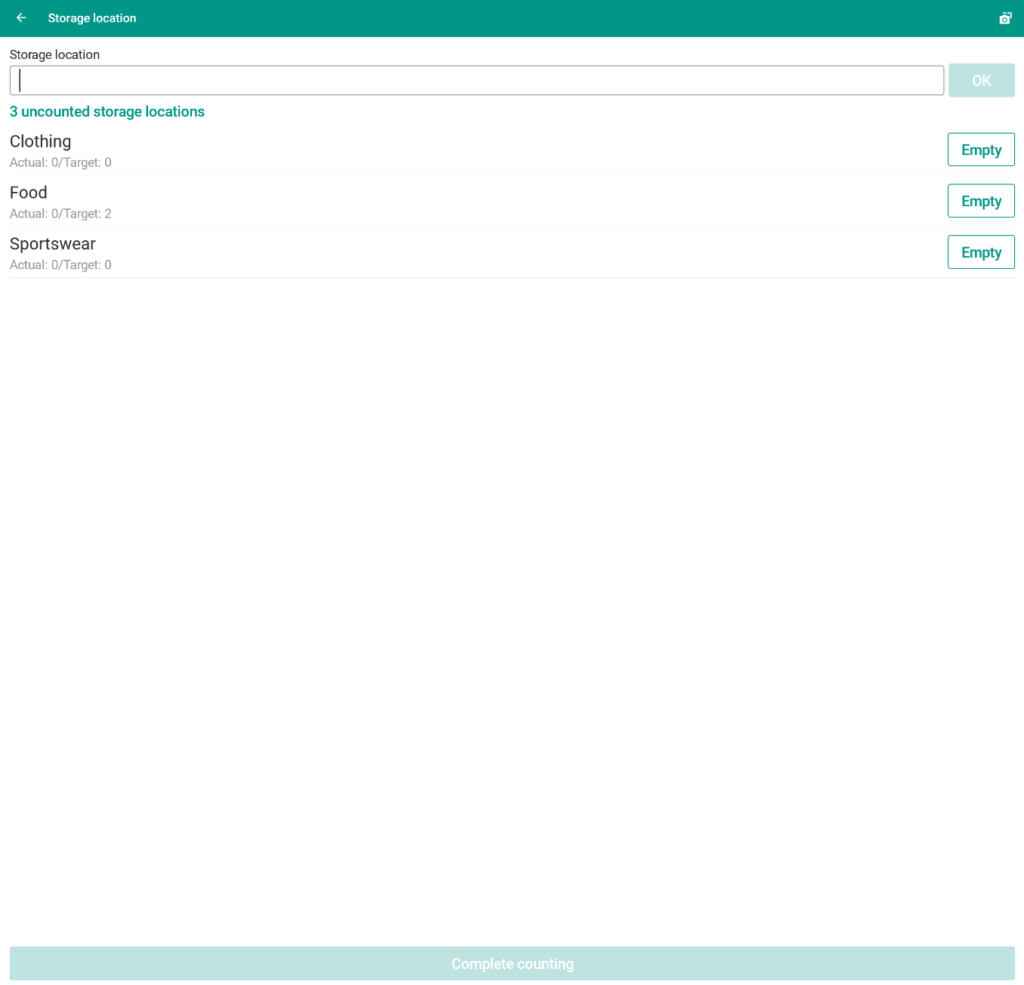
- You will now see a list of all storage locations in this inventory list. Start the counting process by selecting an entry from the list or entering the storage location number in the input field.
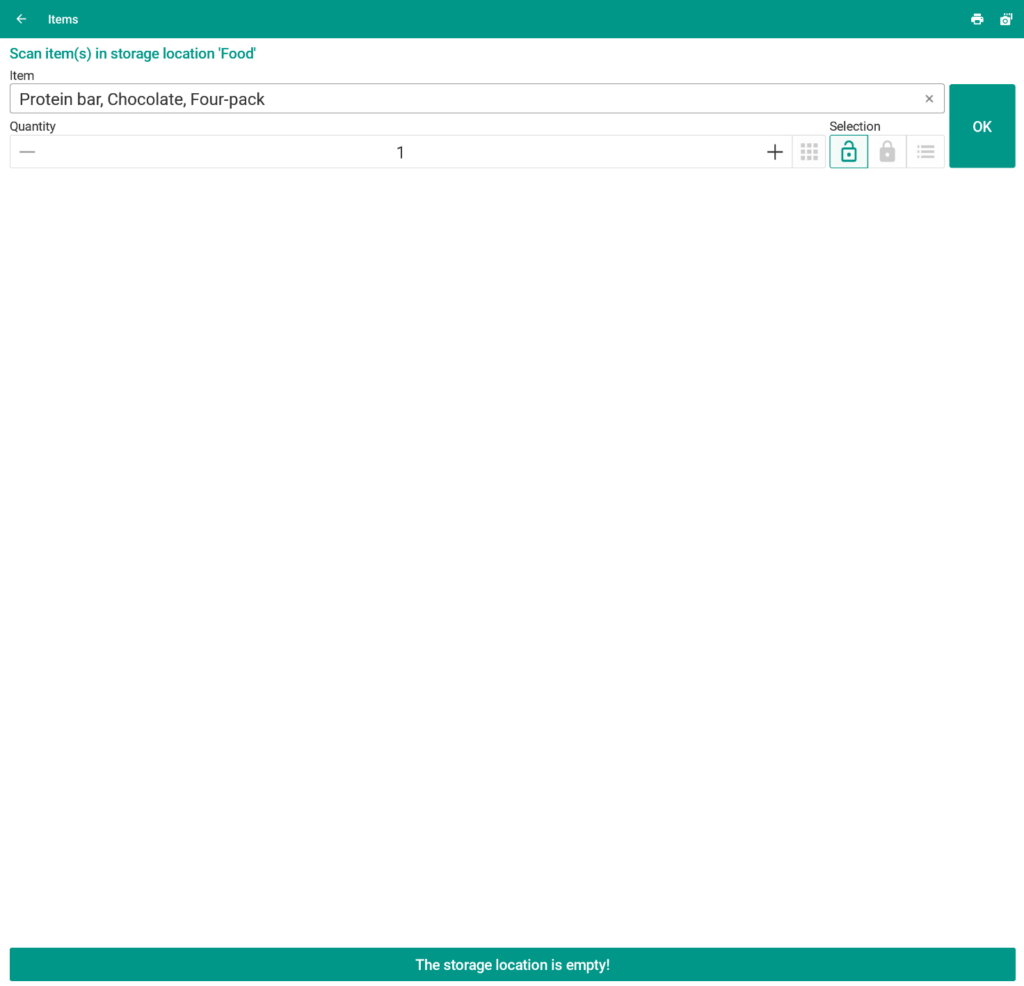
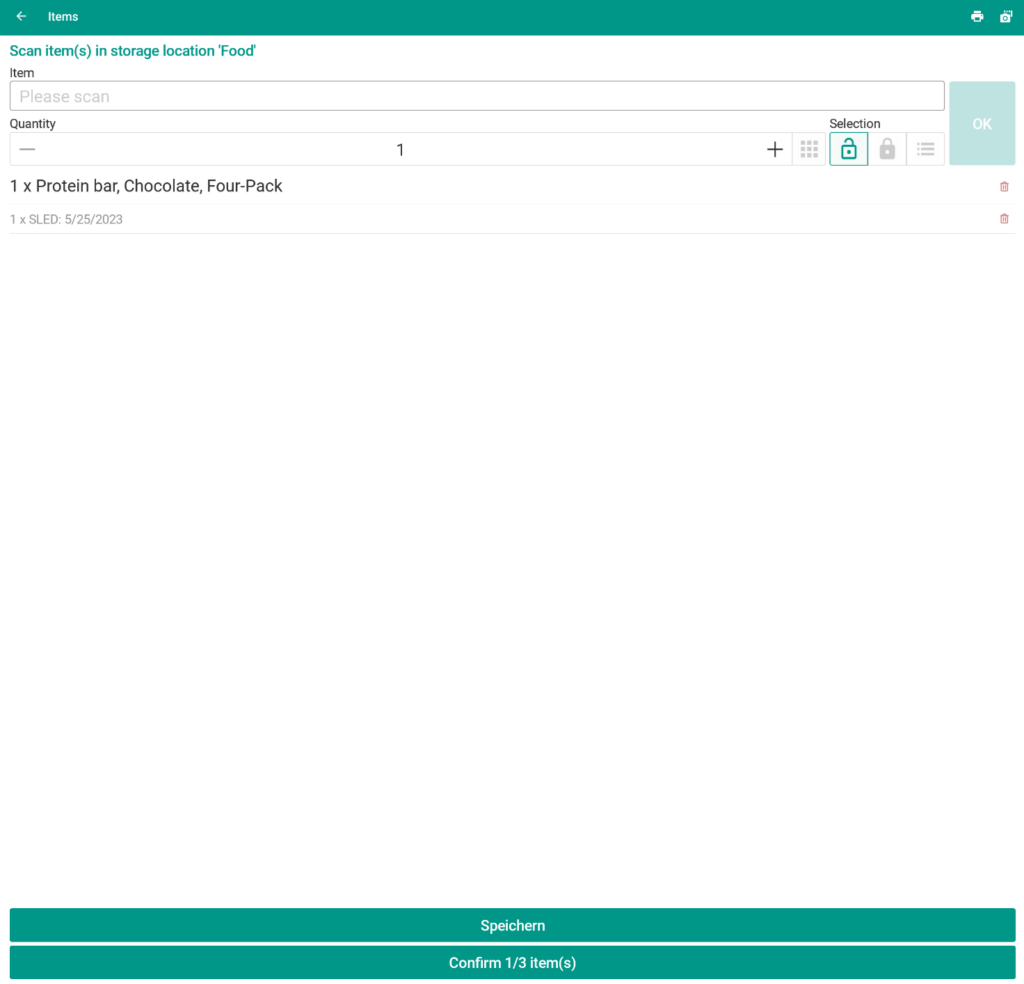
- Now scan the items or manually enter the SKU of the items that are in the storage location. Specify the respective item quantity. Confirm the counting by clicking OK. If there are no items in the storage location, you can confirm the counting process in this storage location via The storage location is empty!.
If the item has a SLED/batch/serial number, you must confirm this separately.
- Once you have counted all items in the storage location, end the counting process for this storage location by clicking the Confirm item(s) button. You can now go to the next storage location.
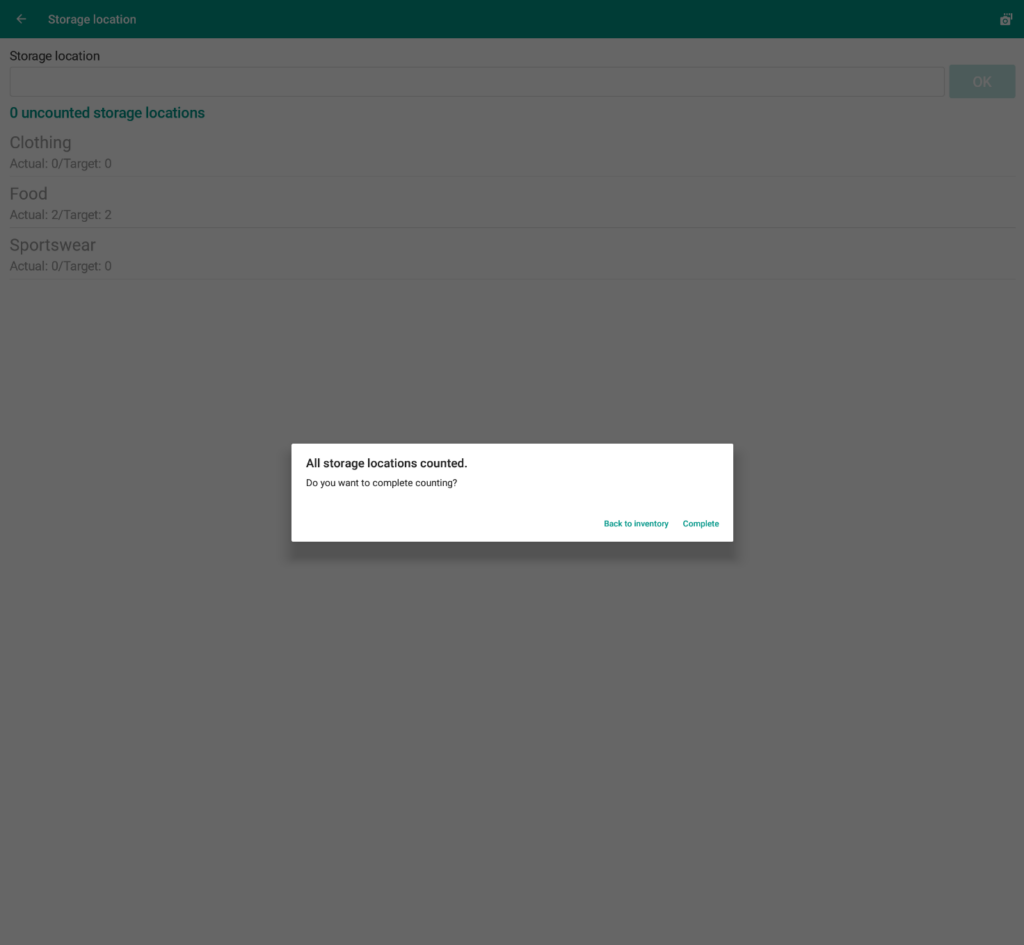
- As soon as all storage locations from the inventory list have been counted, click Complete counting in the storage location overview. The All storage locations counted dialogue box appears. Click Complete to complete the inventory.
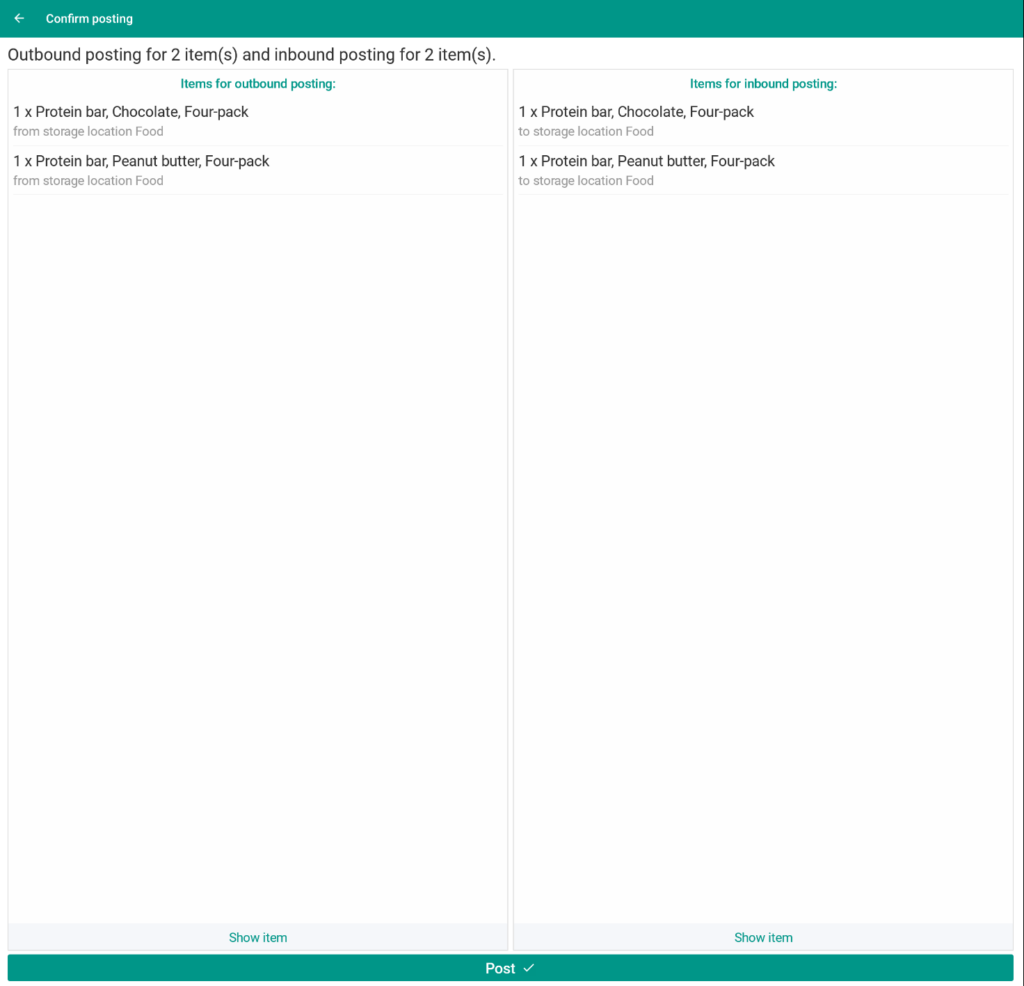
- When you complete an inventory, the Confirm posting area opens. Here you can see a list of the shortages. Click Post to update the stock in the system.
Creating an inventory with JTL-WMS Mobile
You can also create inventories for storage locations with JTL-WMS Mobile. Depending on the settings in JTL-Wawi, the storage locations are selected automatically. Continue reading to learn how to do this.
- Start JTL-Wawi.
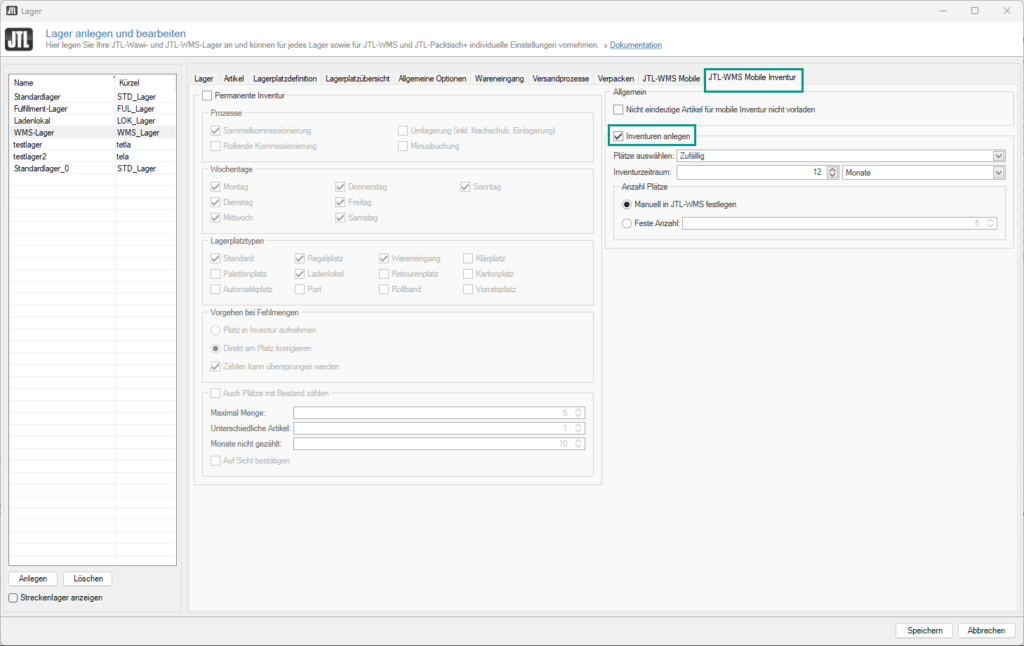
- Open Menu: Warehouse > Warehouse and select the JTL-WMS Mobile Inventory tab.
- Activate the Create inventories with JTL-WMS Mobile check box and make your settings.
- Start JTL-WMS Mobile.
- Open the hamburger menu and select the menu item Inventory.
- Click Create new inventory.
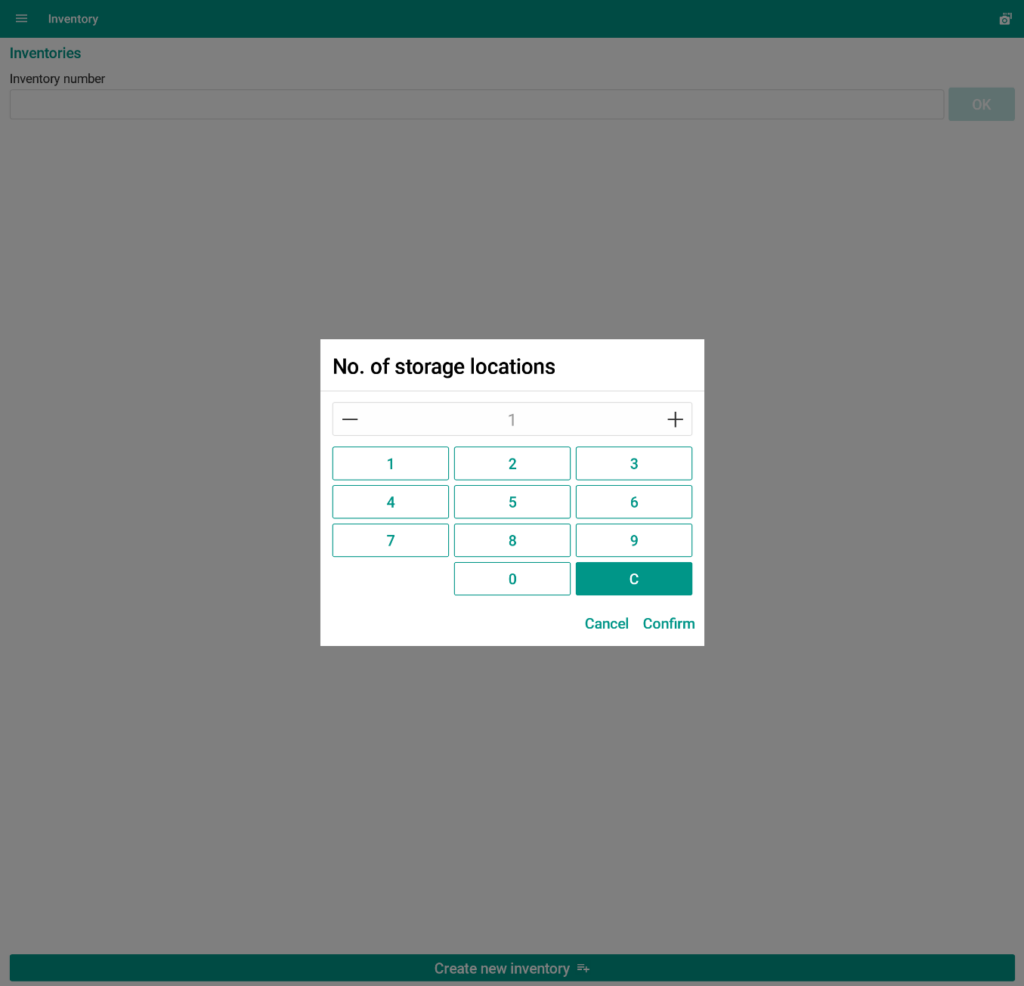
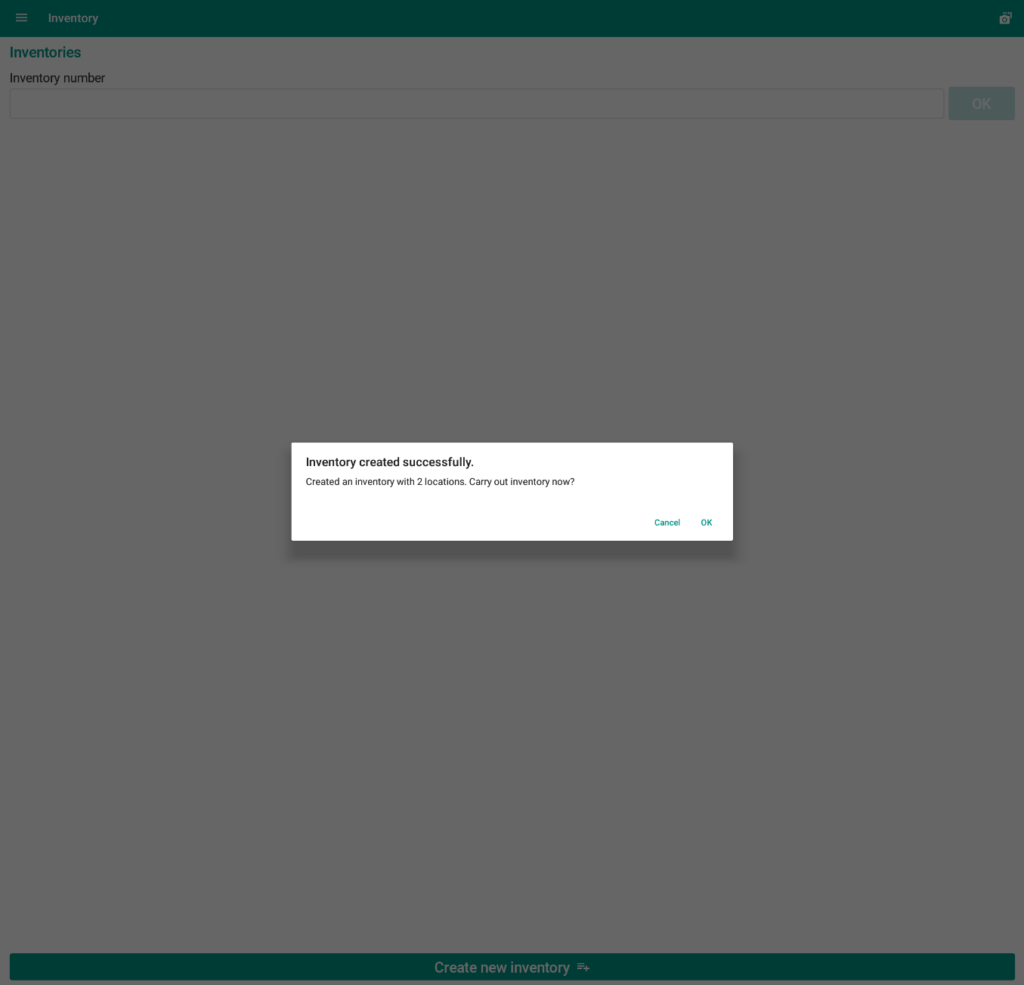
- Select the number of storage locations for the inventory and click Confirm. The Inventory created successfully dialogue box opens.
- To start the inventory directly, click OK. If you want to perform the inventory later, click Cancel. You will find your created inventory in the inventory list.
- As soon as you have started the inventory, proceed as you would with a normal inventory. Now follow the steps under Starting inventory from step 4.
Creating inventory for a selected storage location
You can also use JTL-WMS Mobile to create inventories for individual storage locations. Continue reading to learn how to do this.
- Start JTL-WMS Mobile.
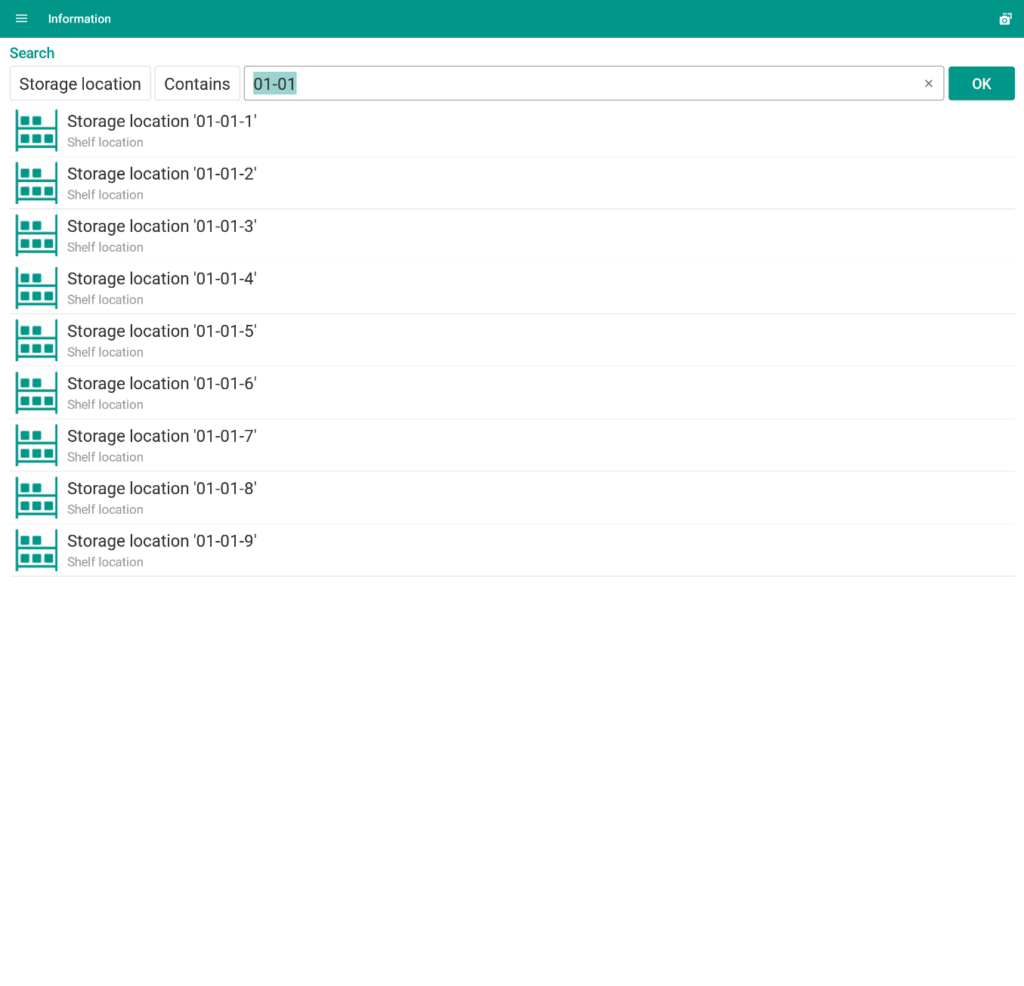
- Open the hamburger menu and select the menu item Information.
- In the Information area, select a storage location as the search criterion and scan a storage location or enter a storage location number. The area of that storage location opens.
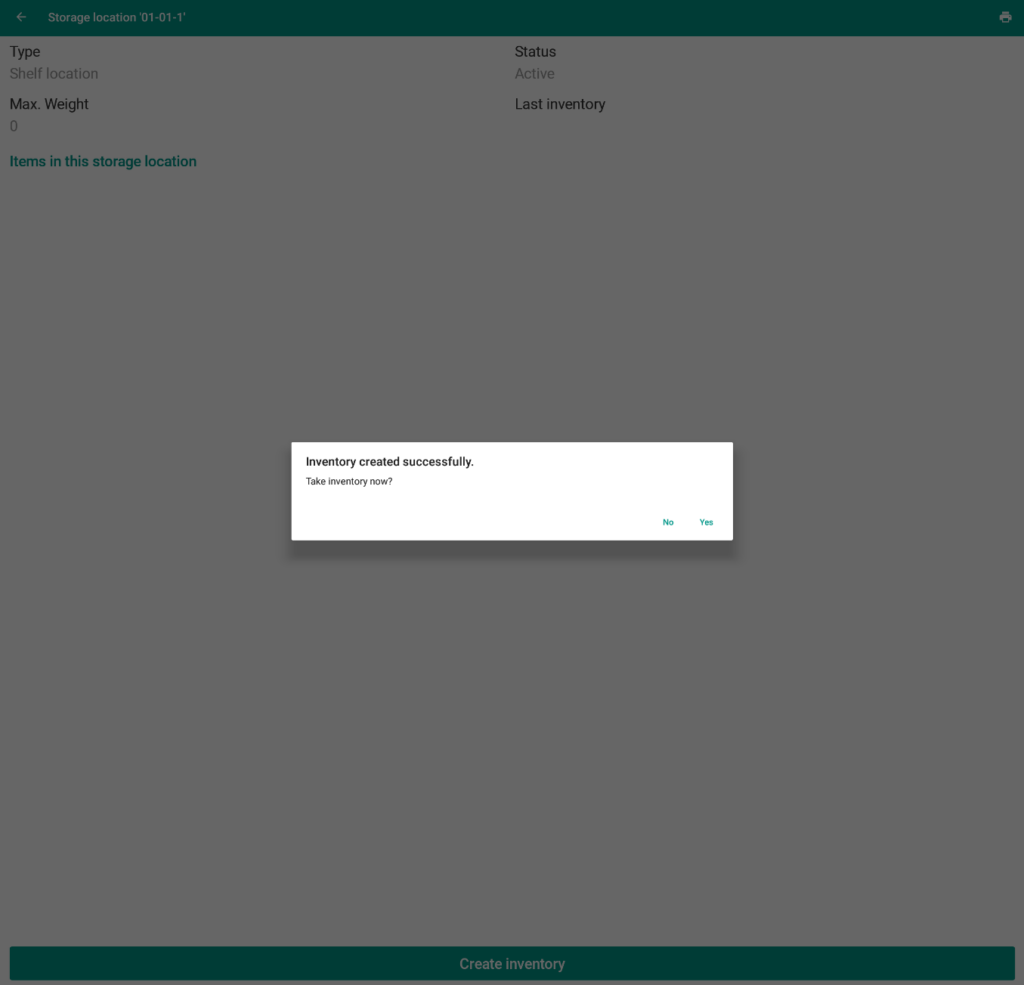
- Click Create inventory. The Inventory created successfully dialogue box opens.
- Click Yes to start the inventory directly, or click No to perform the inventory later. If you perform the inventory later, you will find the created inventory in the inventory list.
- As soon as you have started the inventory, proceed as you would with a normal inventory. Now follow the steps under Starting inventory from step 4.
User right: Inventory without fixed order
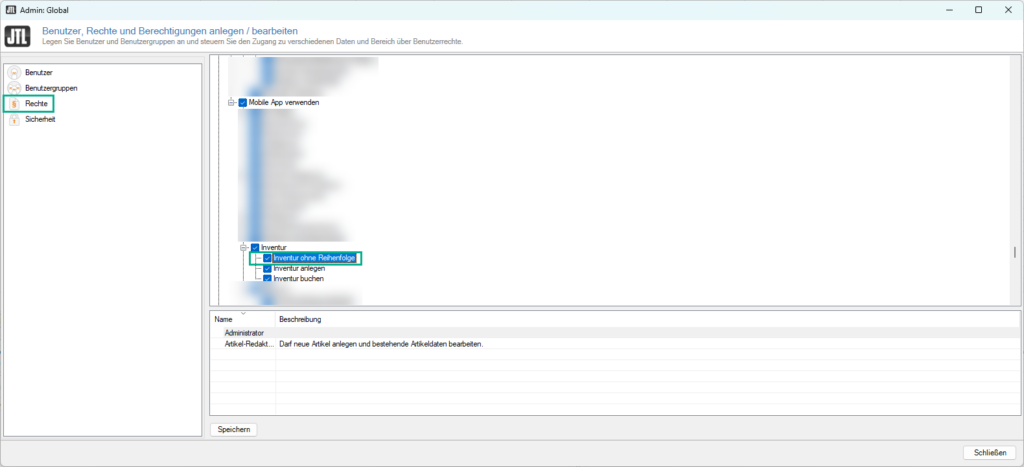
Deactivating the Inventory without fixed order user right activates the fixed route-optimised order. If this right is not activated, the inventory can only be taken in the order specified by the system.
To activate/deactivate the user right, open Menu: Admin > Users/Rights > Rights >JTL-WMS > Using the Mobile App > Inventory and activate/deactivate the check box.
Deactivating the right makes sense if:
