We are currently still building up the English documentation; not all sections have been translated yet. Please note that there may still be German screenshots or links to German pages even on pages that have already been translated. This guide mostly addresses English speaking users in Germany.
Video
Online shop connection
In this video, we explain how to set up JTL-Shop.
Connecting an online shop to JTL-Wawi
Your task/initial situation
To operate one or several online shops with JTL-Wawi, you need to have the required data at hand to guarantee smooth data transmission.
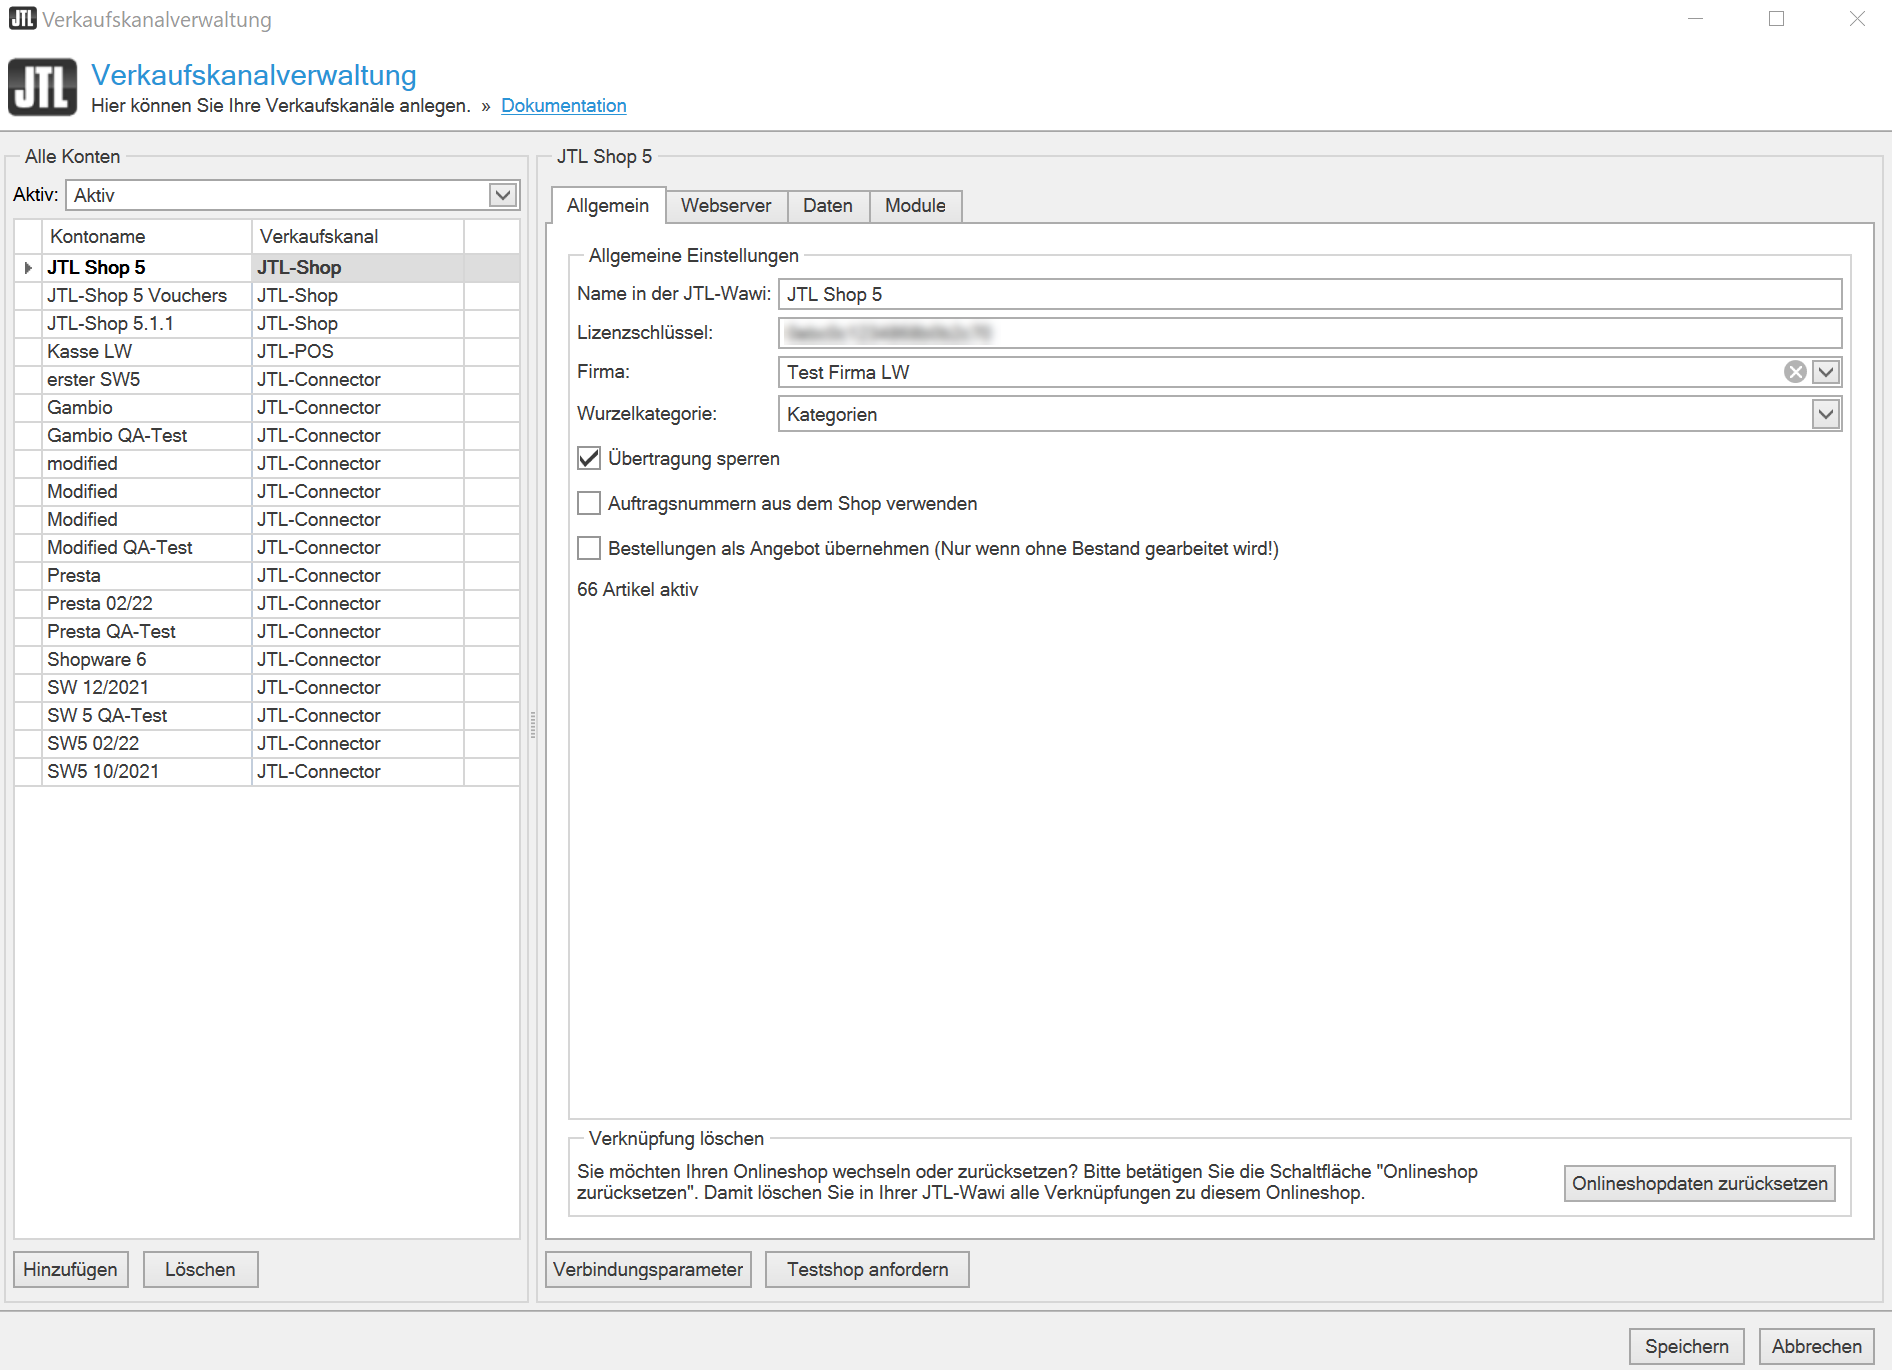
- In JTL-Wawi, click Platforms in the toolbar and select Sales channels. The Sales channel management dialogue box opens.
- In the Sales channel management dialogue box you can add, edit or delete new online shops.
Connecting JTL-Shops
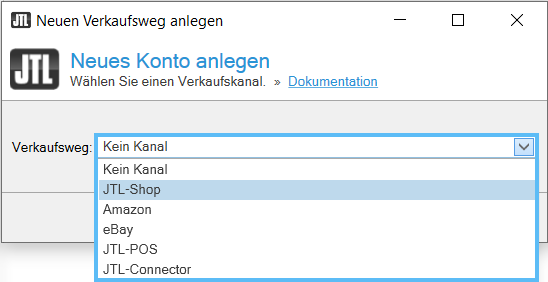
- Click Add. The Creating a new account dialogue box opens.
- Use the Sales channel drop-down menu to select the sales channel you want to create and confirm with OK. The new account will be added to the overview.
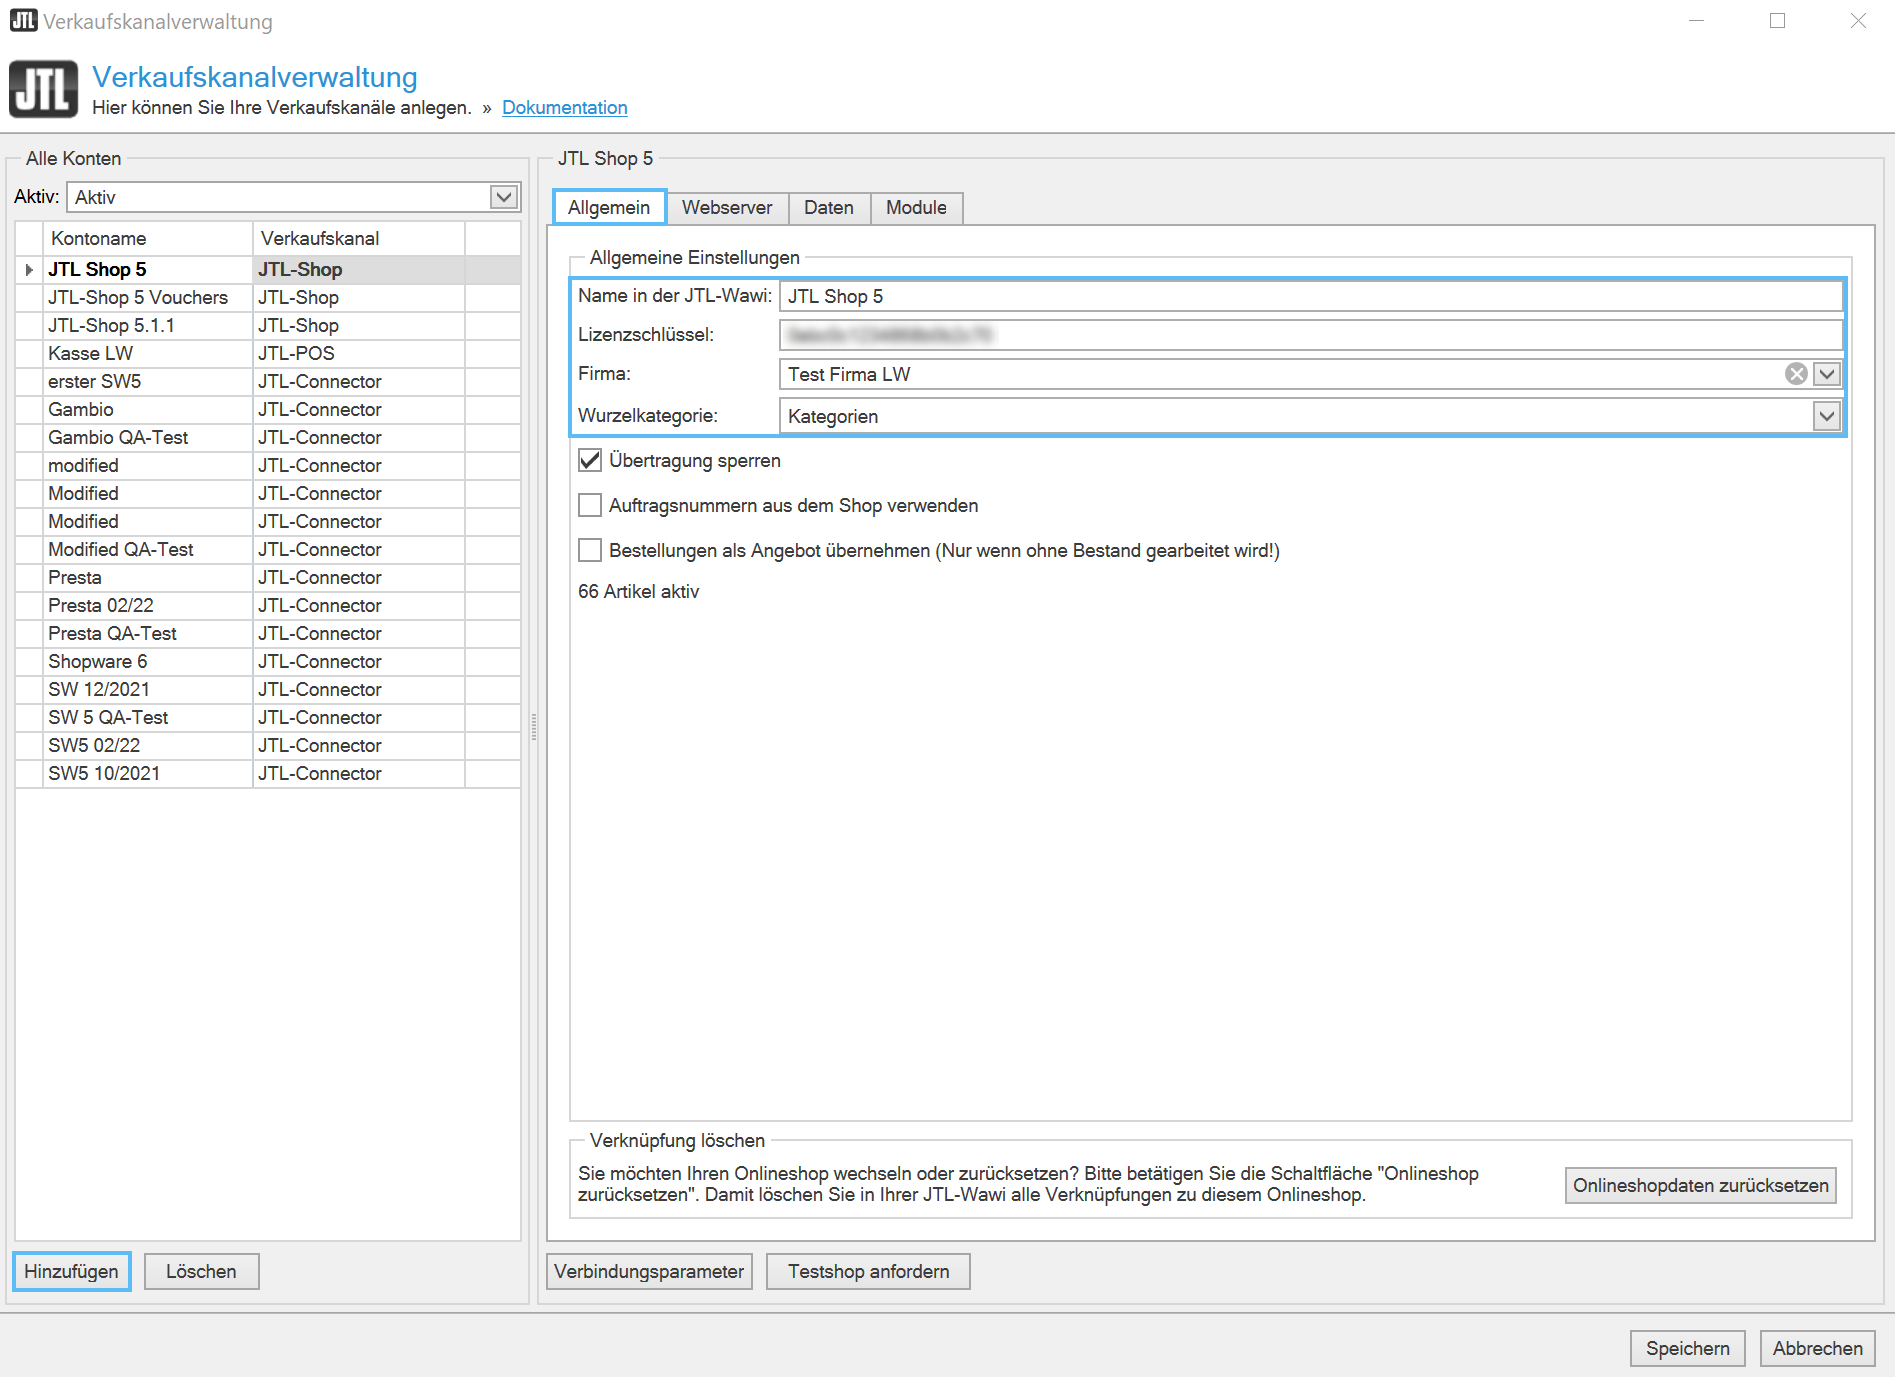
- In the General tab, make the general settings and enter the Name in JTL-Wawi, Licence key, Company and Root category.
Licence key: You received the licence key after purchasing JTL-Shop or generated it in JTL-Customer Centre.
Root category: Using the root category, you can assign a main category to the online shop that contains all categories and items that can be activated for the online shop. Please note that all categories and items that are NOT in the root category will be deactivated for the online shop.
- Activate these check boxes if required:
Block transmission: Activate this check box to block the online shop connection and to prevent the entire data exchange between JTL-Shop and JTL-Wawi.
Use order IDs from the shop: Activate this check box to instruct JTL-Wawi to use the order ID generated by the online shop as the sales order ID in JTL-Wawi. When the option is disabled, JTL-Wawi creates a new sales order ID for every incoming JTL-Shop order. Please note that sales order IDs must be unique. You can make the sales order IDs in JTL-Shop a unique number range via an order ID prefix/suffix.
Transfer orders as sales quotations: Activate this check box to instruct JTL-Wawi to create a sales quotation in JTL-Wawi from the order in your shop.
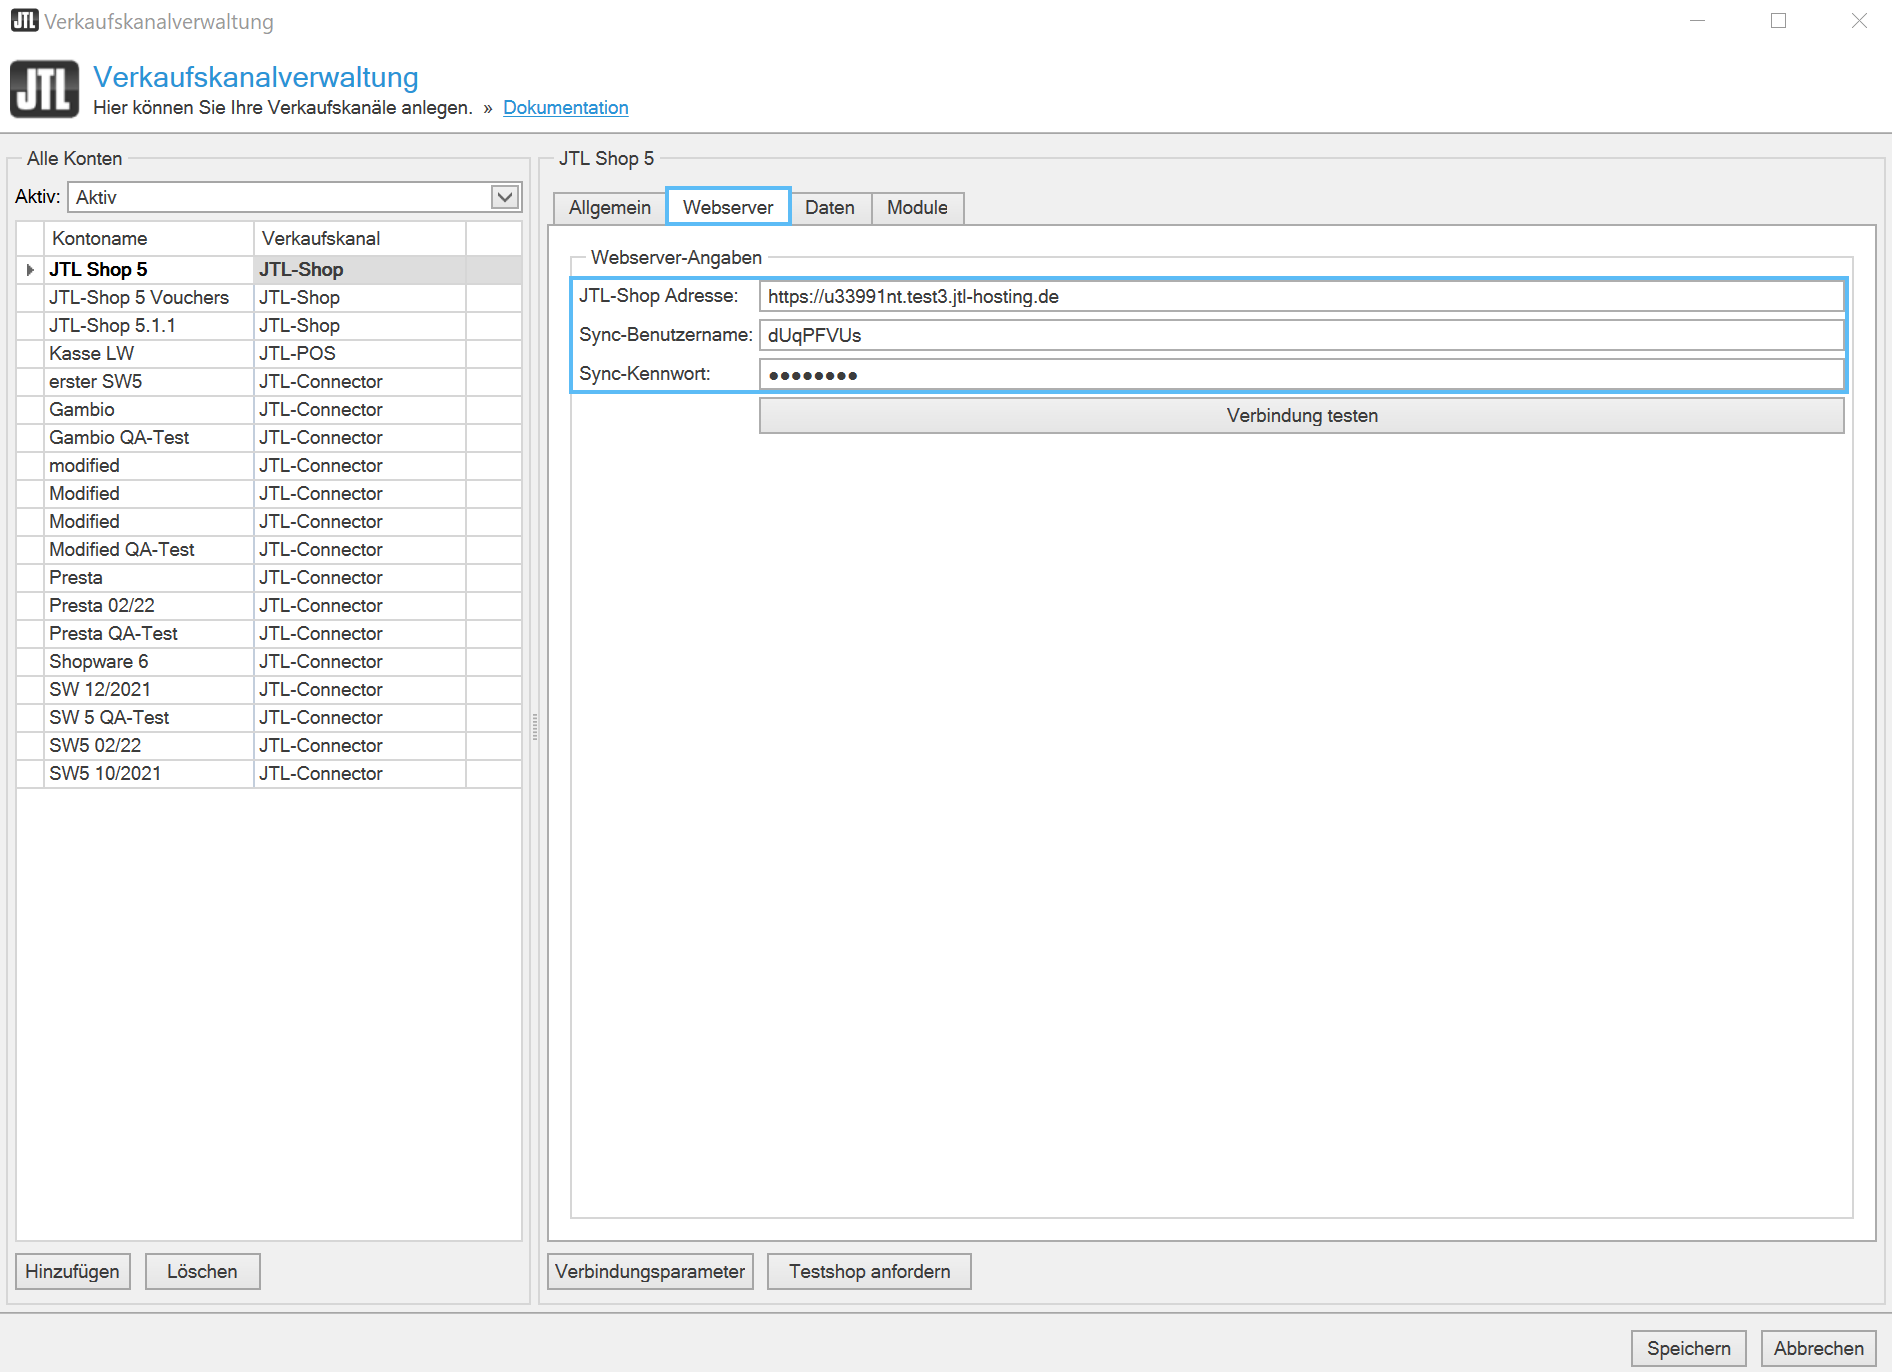
- In the Web server tab, enter the domain address (URL) of your online shop in the JTL-Shop address field.
- Into the Sync user name and Sync password fields, enter the data you received for the synchronisation with JTL-Wawi after installing JTL-Shop.
- Click on the Test connection button.
At the end of the JTL-Shop installation process, you will see an overview page where you will find all the required information. We recommend printing this page to have the access data readily available at all times. In the Sales channel management dialogue box, enter the data into the respective fields.
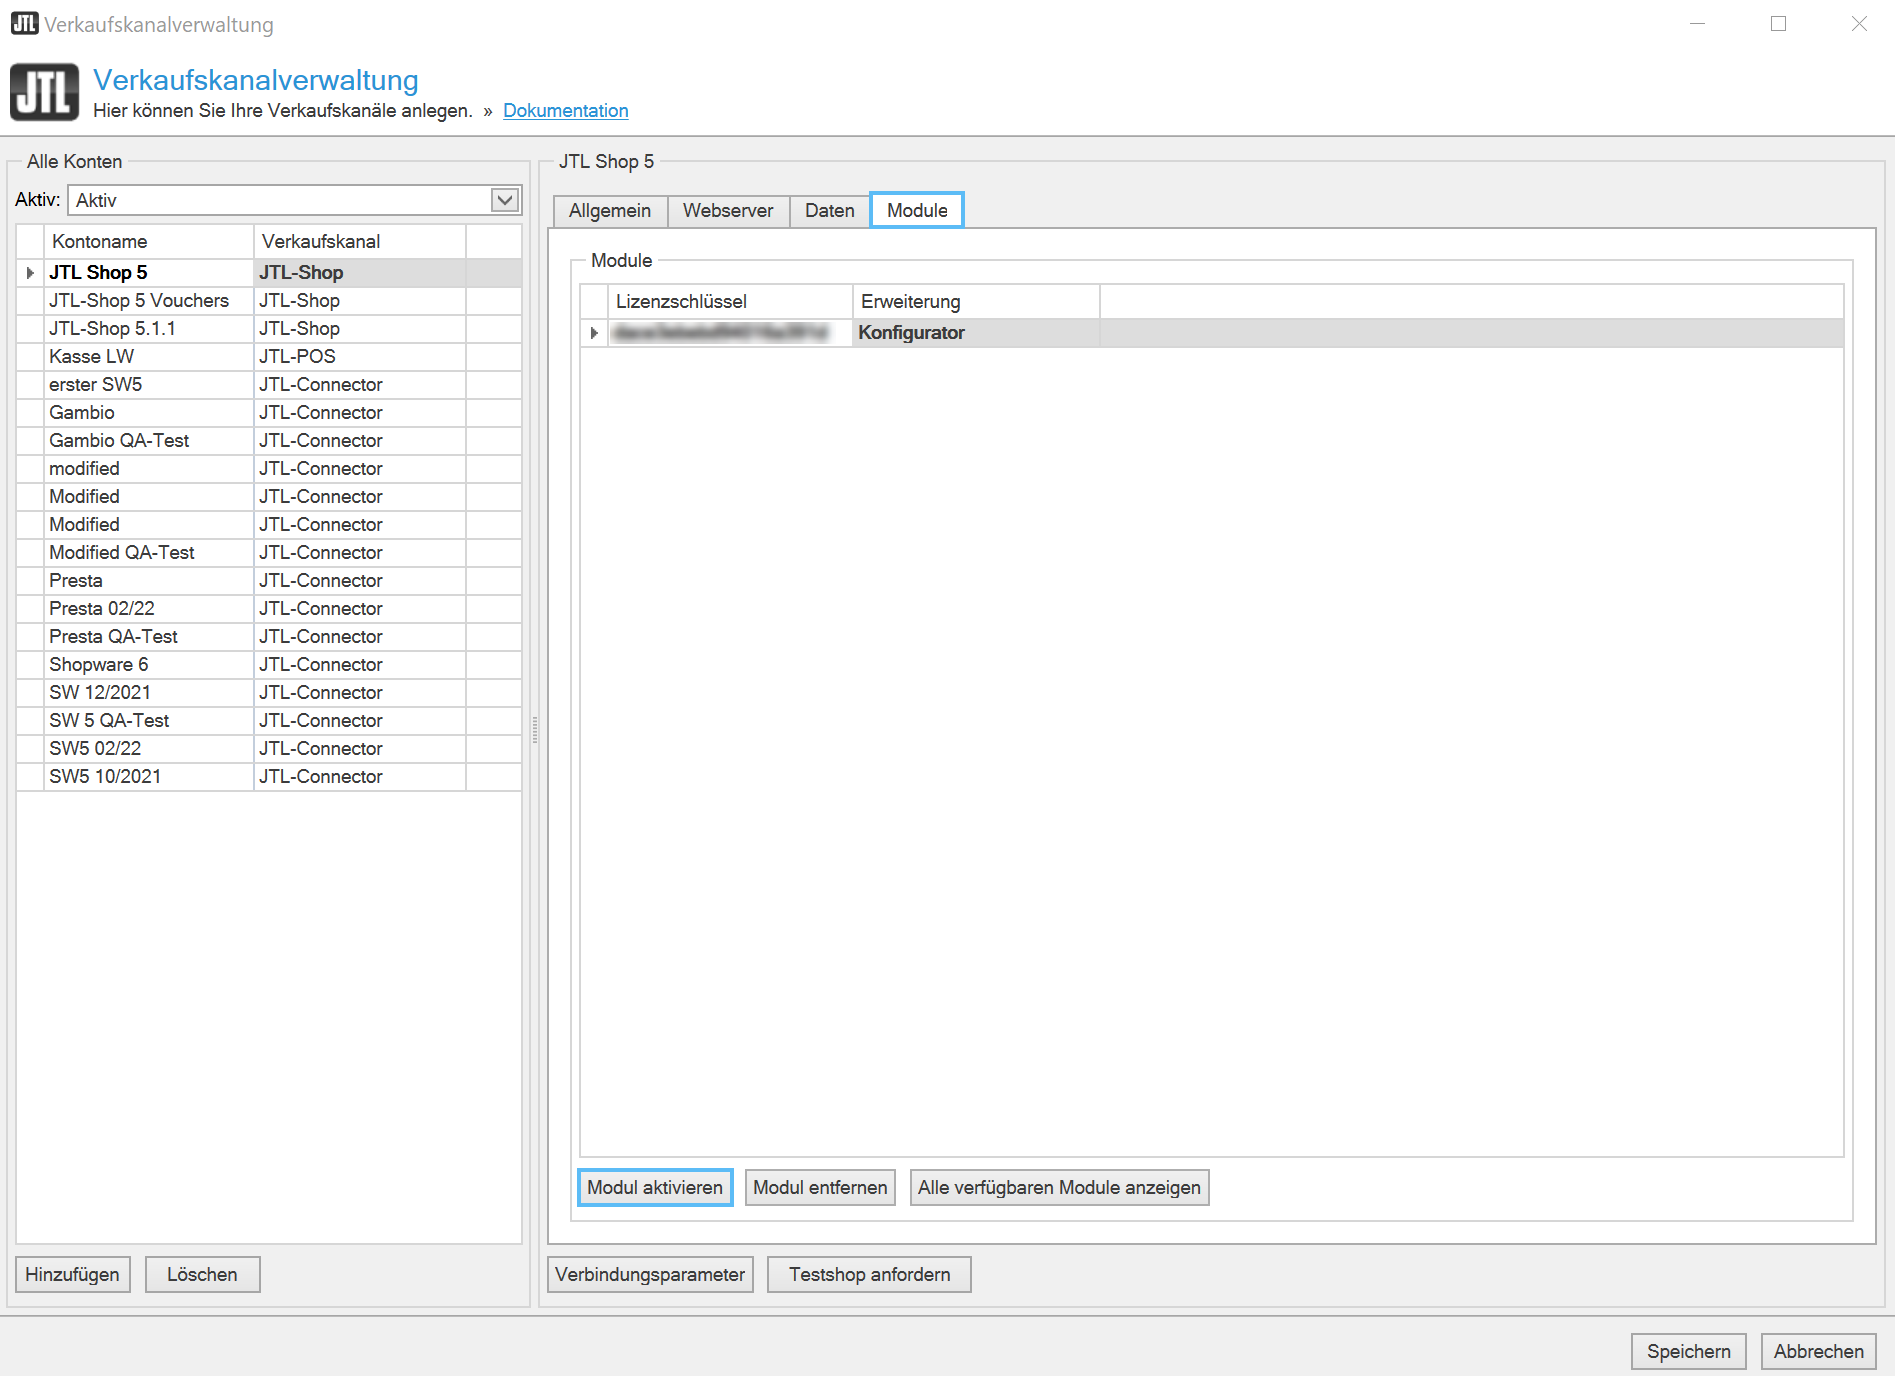
- Switch to the Modules tab and click Activate module.
You have successfully activated the JTL-Shop module. For the other options of the dialogue box, see Sales channel management.
Adjusting the transmission parameters
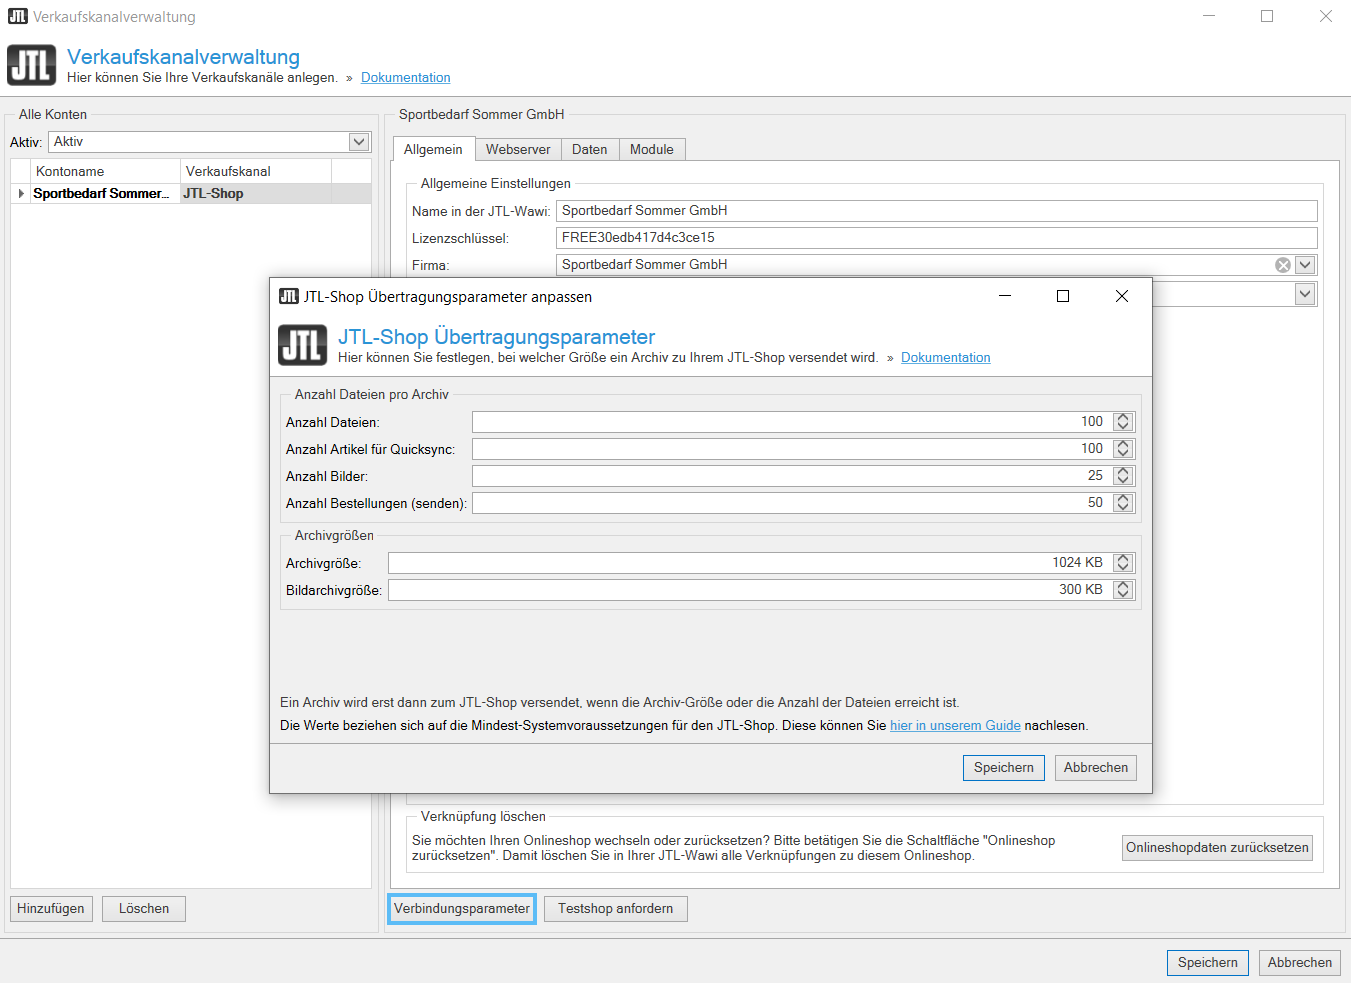
You can adjust the transmission parameters. This can have a positive effect on the transmission speed to JTL-Shop, especially when you use your own root server.
- Click Connection parameters. The JTL-Shop Transmission parameters dialogue box opens.
Number of files per archive: In this area, you can specify in the corresponding fields how many files will be included in an archive that will be sent to the shop. Please note that the web server must be able to process the archives at a later point. If the web server workload is high, large archives can have a negative effect on the transmission speed and the web server.
Archive sizes: In this area, you specify how large the uncompressed data may be in the corresponding fields. With images, several factors come into play. The larger the images, the larger you can set this archive. If most of your images are very small, the archive should not be too big since the web server needs some time to process the images (previews, branding, etc.).
If PHP Extension ImageMagick is installed, it also increases the processing speed of images on the web server significantly. An archive is only sent to the online shop once the number files or the archive size is reached.
With a root server, these specifications can be doubled/tripled. To do this, you need to adjust these variables in the php.ini file on your web server as follows:
memory_limit=128M
execution_time=320
upload_max_filesize=24MB
The limit for images is 999; for the other entries, it is 9999.
If a 500 error occurs during the transmission, the values must be lowered!
Connecting JTL-Connectors
Please read the help pages for JTL-Connector to learn how to set up connectors.
Video
Online shop connection
In this video, we explain how to set up JTL-Shop.
