We are currently still building up the English documentation; not all sections have been translated yet. Please note that there may still be German screenshots or links to German pages even on pages that have already been translated. This guide mostly addresses English speaking users in Germany.
Carrying out cancellations
Your task/initial situation
In JTL-POS, you can carry out cancellations at different times during the checkout process:
Requirements/Restrictions
Optional: Creating cancellation reasons
You can define reasons for the cancellation of receipts or line items in JTL-POS. As soon as there is at least one cancellation reason at line item or receipt level, the reason will be prompted and must be specified for a cancellation at the relevant level. For more information on this topic, see: Creating cancellation reasons.
Carrying out line item cancellations
With a line item cancellation, you only remove a single line item from the receipt. This might be necessary if, for example, you have scanned the wrong item or if your customer decides at short notice not to take an item after all.
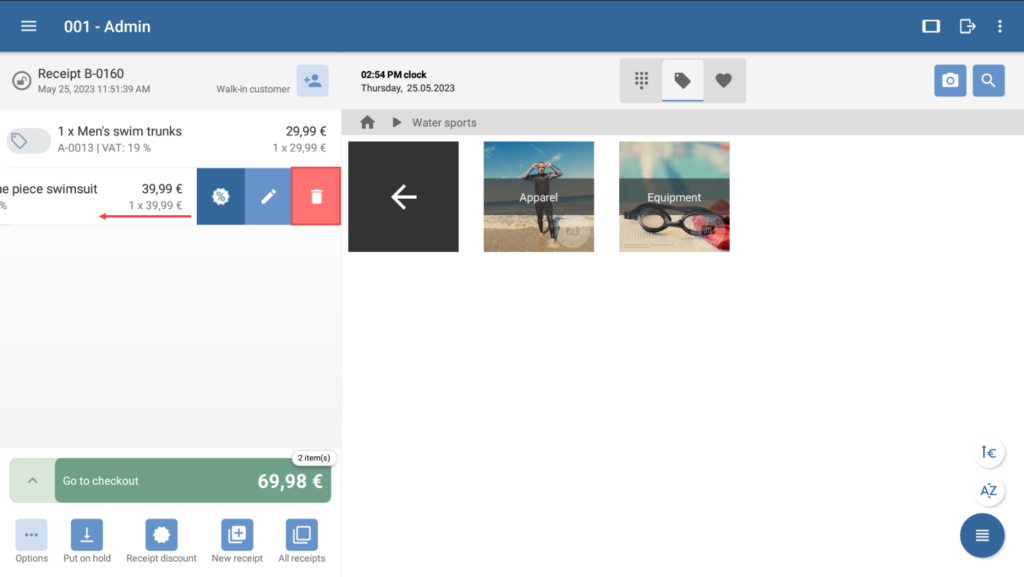
- To cancel a line item, simply swipe it to the left. The icons for editing the line item will appear.
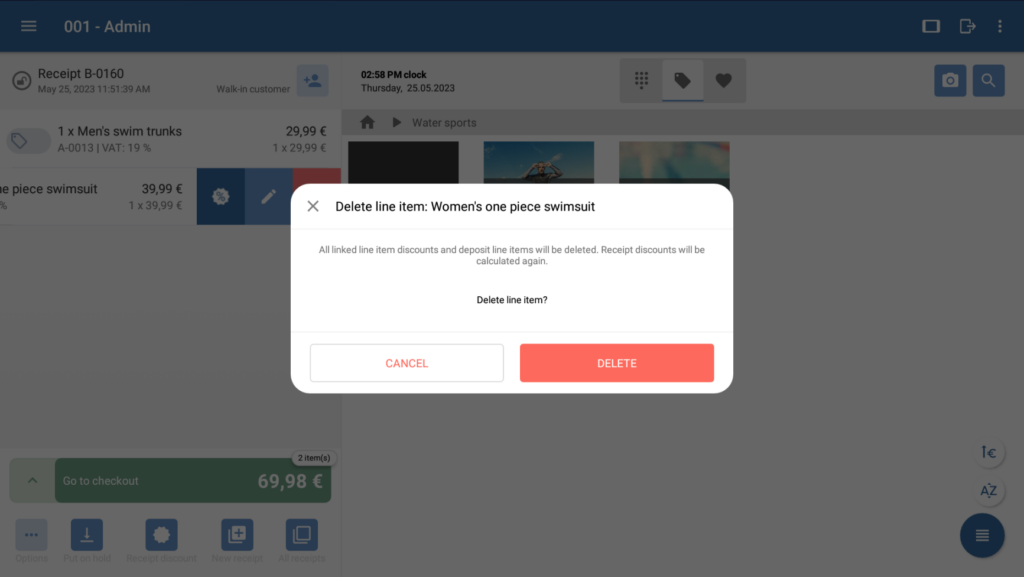
- Tap the recycle bin icon. You will be asked to confirm that you really want to delete the line item.
- Confirm the confirmation request with Delete. The line item will then be removed from the receipt.
Cancelling receipts
Instead of individual items, you can also cancel an entire receipt. This makes sense, for example, if your customer backs out of the purchase before payment is made.
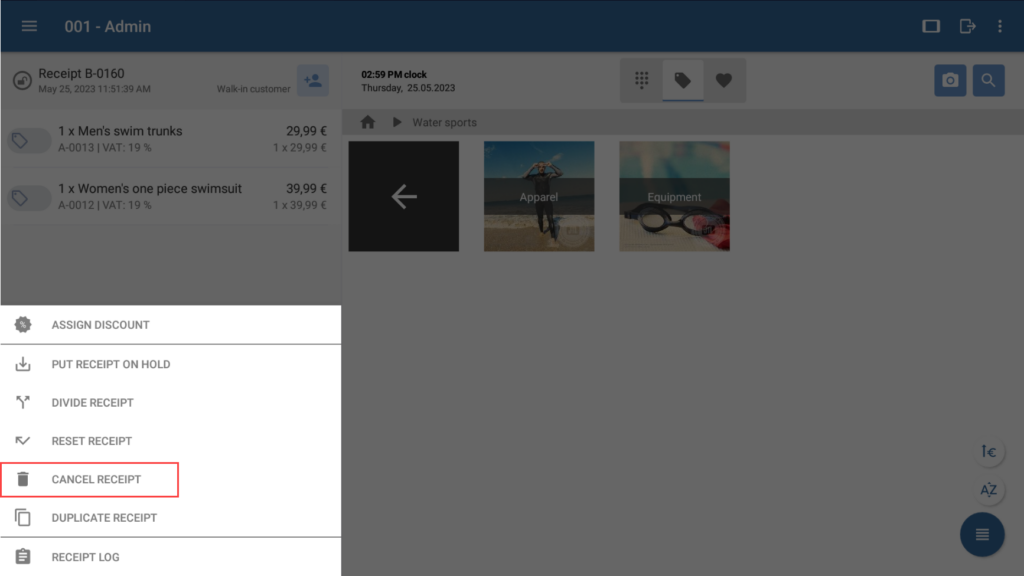
- Tap on the … Options button below the line item list. The receipt menu will open.
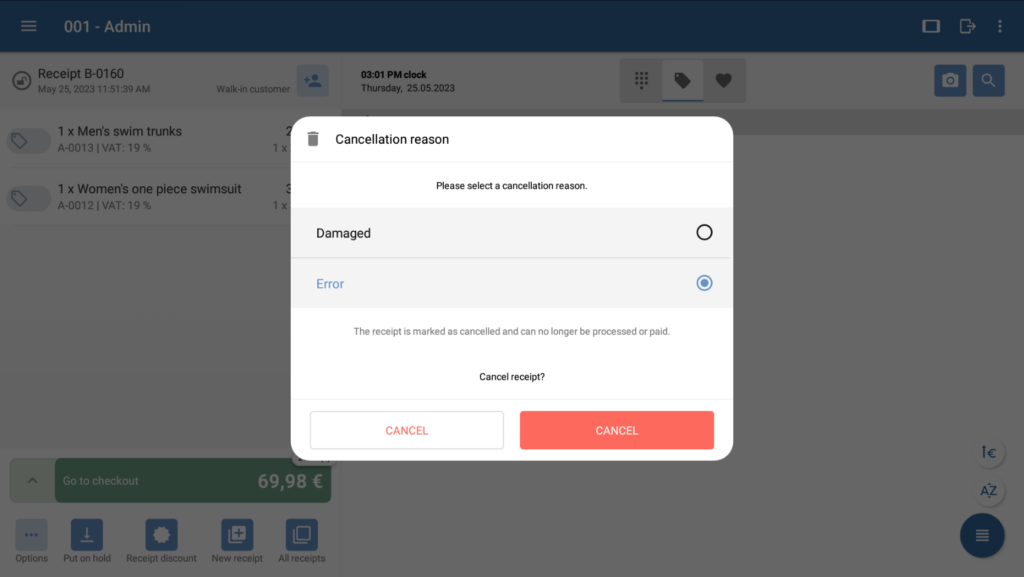
- Tap on Cancel receipt. If you have defined at least one cancellation reason for receipts, the system will prompt you to select a cancellation reason. Otherwise, you will be asked if you really wish to cancel the receipt.
- Select one of the cancellation reasons or confirm the confirmation request. The receipt will be cancelled.
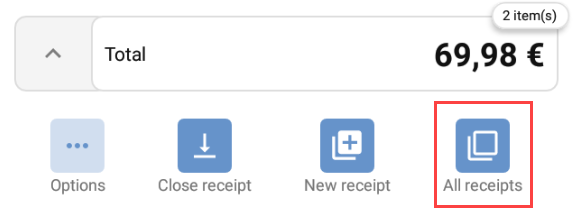
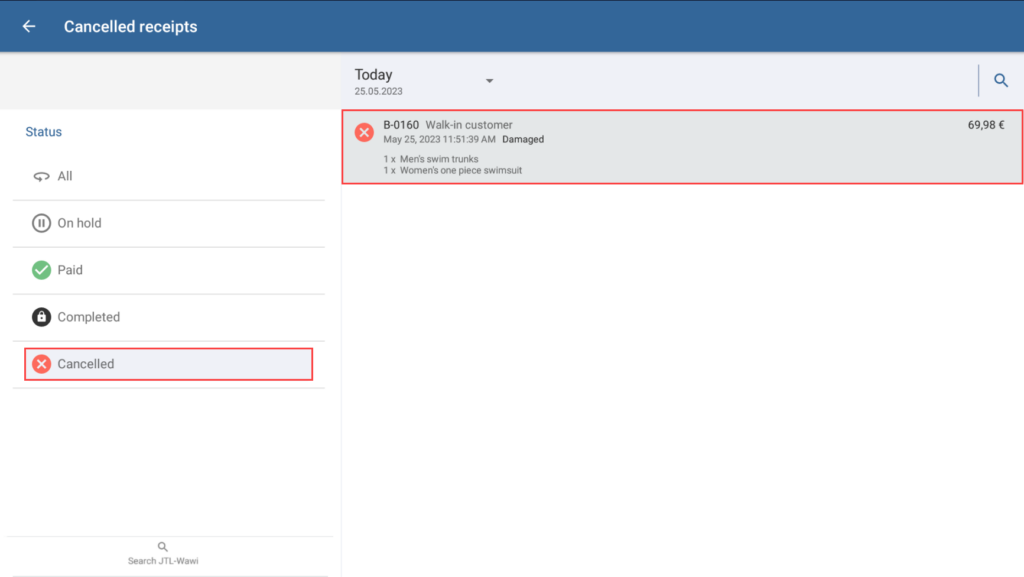
You can find receipts cancelled in this way in the overview All receipts > Cancelled until day-end closing.
Related topics
