We are currently still building up the English documentation; not all sections have been translated yet. Please note that there may still be German screenshots or links to German pages even on pages that have already been translated. This guide mostly addresses English speaking users in Germany.
Maintaining the contact form
Your task/initial situation
Creating subjects
The contact form is displayed in JTL-Shop by default but is deactivated if you have not created at least one subject. With the help of subjects, you can determine to whom a customer request should be sent.
- Log in to the back end of JTL-Shop with your admin access data.
- Go to View > Standard views > Contact form.
- Go to the Subjects tab.
- Click New subject to create a subject. The Subject line of contact form page opens. Go to detailed description of all options.
- Click Save to create the subject.
Maintaining text before and after the form
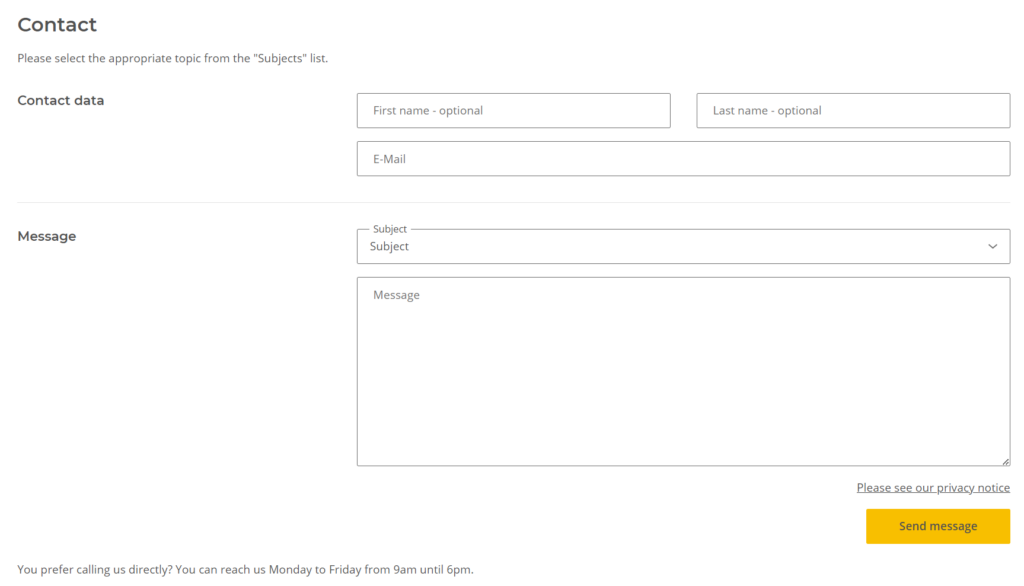
In addition to the form itself, you can also enter the texts that can be seen on the contact page. You can enter information for the texts before and after the form as well as the heading. You can enter all texts in all languages maintained in JTL-Shop.
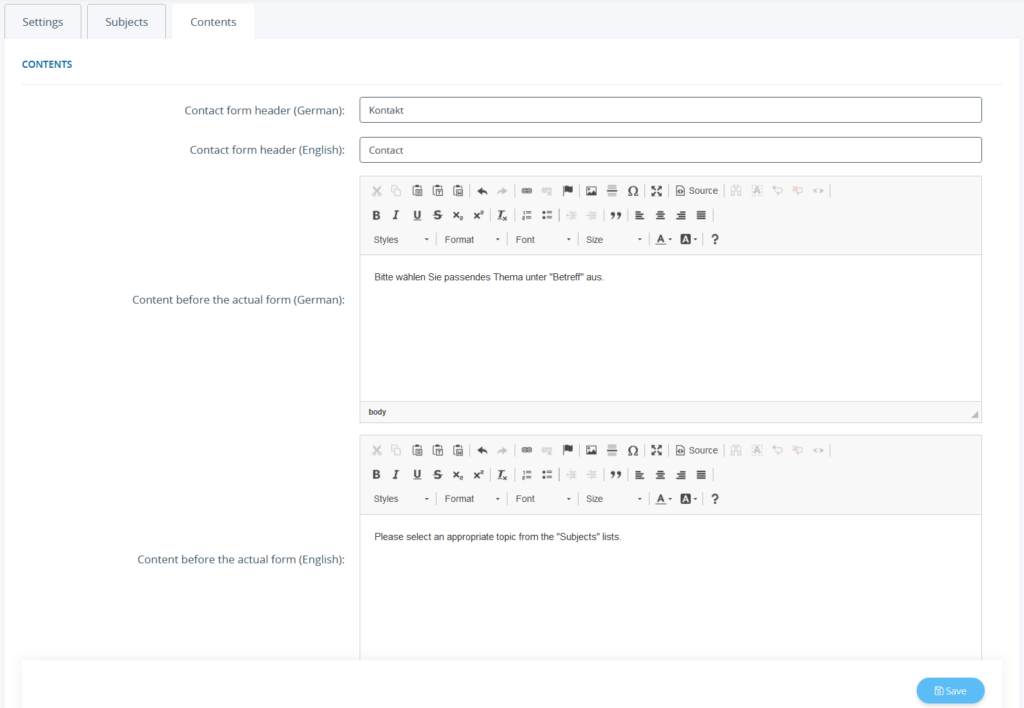
- To do this, switch to the Contents tab.
Contact form header: Enter the heading of the contact page.
Content before the actual form: Enter the text to be displayed above the form. You can format it using the editor functions.
Content after the actual form: Enter the text to be displayed below the form. You can format it using the editor functions.
Check box for user consent
According to the GDPR, you must follow certain guidelines for contact forms.
The following example instructions for JTL-Shop do not replace legal advice. If in doubt, please contact a lawyer for comprehensive legal advice on this topic: Go to example instructions.
Adjusting the settings for the contact form
You can edit the fields displayed by default in the contact form and make some settings for protection.
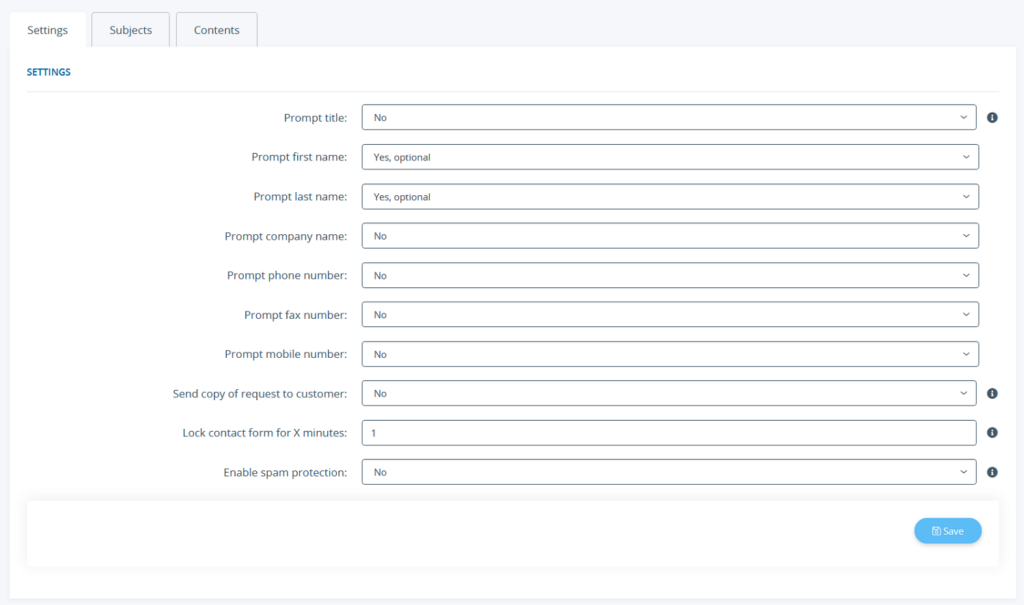
- Switch to the Settings tab.
Prompt title/first name/last name/company name/phone number/fax number/mobile number: You can set individually whether you want to query a specific information. You can decide in each case:
Send copy of request to customer: By activating this option, a copy of the request is sent to the specified email address entered by the customer.
Lock contact form for X minutes: With this option, you specify that your customers must wait a certain number of minutes before they can submit the contact form a second time. There is no waiting time if you select the number 0.
Enable spam protection: This option activates the spam protection, which ensures that your contact form cannot be filled in by spambots. To enable spam protection, you must set up Google reCAPTCHA globally. Go here for how to set up Spam protection with Google reCAPTCHA.


