We are currently still building up the English documentation; not all sections have been translated yet. Please note that there may still be German screenshots or links to German pages even on pages that have already been translated. This guide mostly addresses English speaking users in Germany.
Creating categories
Your task/initial situation
Requirements/Restrictions
Creating categories
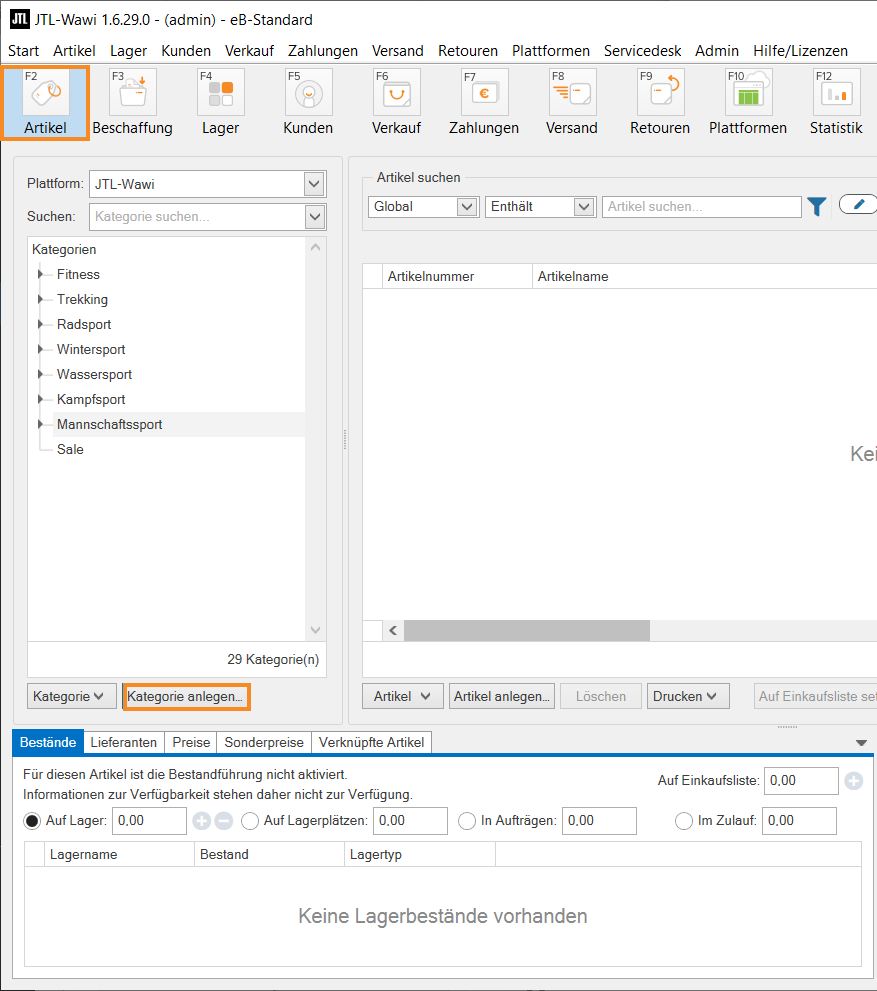
- Click on the Items icon to go to item management. In the left-hand pane called Categories, click on Create category. The dialogue box Creating a new category opens.
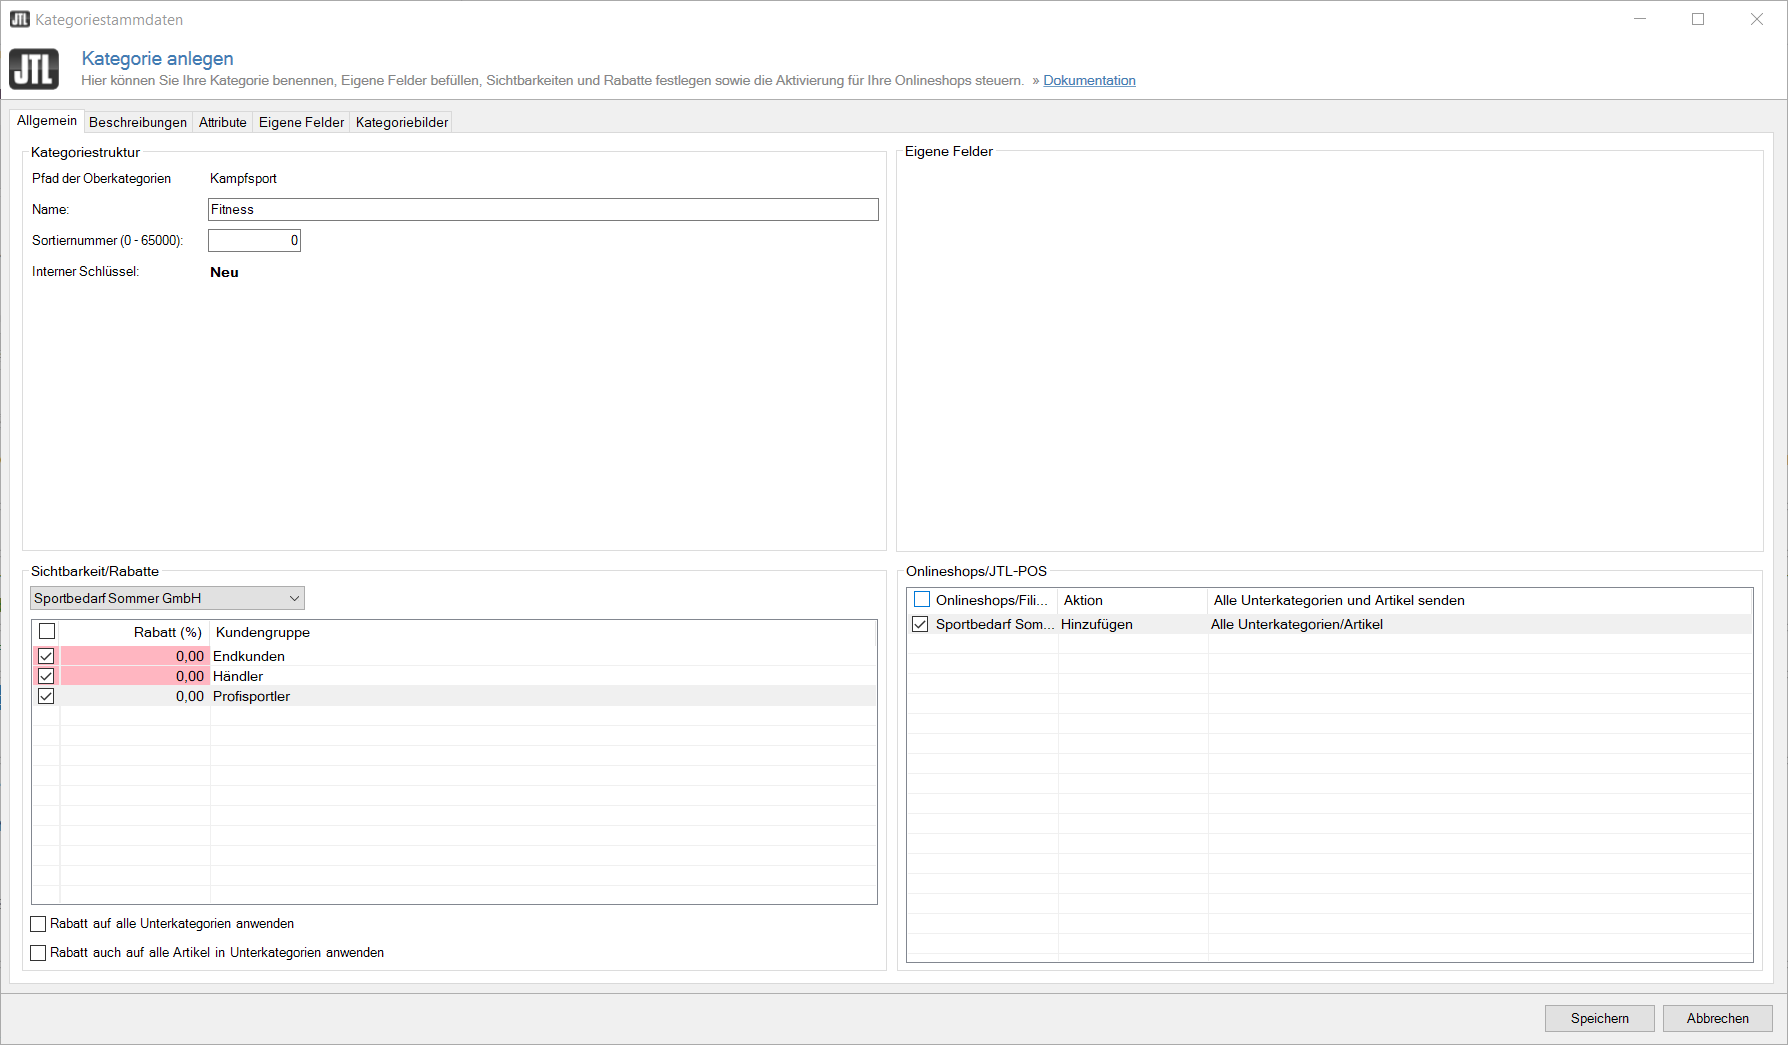
- Enter a name for the category.
- In the pane Visibility/Discounts, you can specify for which customer groups and on which platforms the category will be visible. The column Discount (%) allows you to enter an additional customer-group-specific discount. This discount is only applied if no other discount has been specified anywhere else.
- In the pane Visibility/Discount, underneath the table, you can select if you want to apply the discount to all child categories and if you want to apply the discount to all items in child categories.
- In the pane Online shops/JTL-POS, you can specify in which online shops a category will be visible. By default, the visibility of all new categories is deactivated for your online shops.
- Using the tabs Descriptions and Category images, you can add more information to the category. Then click on Save. The category will now be displayed in the category overview.
- Repeat these steps for all other categories and subcategories you may want to add.
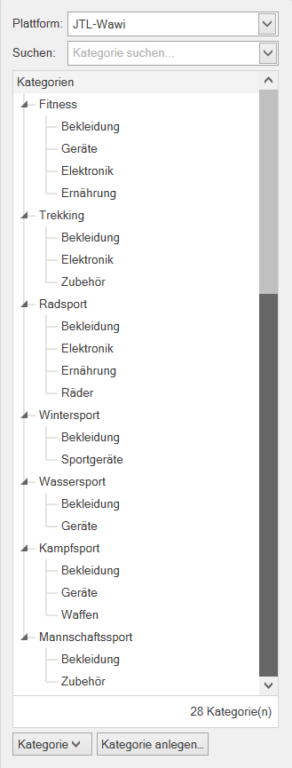
The image below shows a sample category structure of a shop for sporting items:
In JTL-Shop, the categories are displayed as follows:
Editing categories
You can edit a category or child category by selecting them and clicking Category > Edit. The dialogue box with the respective category master data opens. Here you can make the desired changes. You can also open the category master data by double-clicking on the respective category.
Deleting categories
If you want to delete a category, select it and click Category > Delete. Please note that if you delete a category, all its contents, i.e., all child categories, items, child items, etc., will also be deleted. If you really want to delete the category, confirm the deletion by clicking OK in the next dialogue box.
Changing the allocation and order of categories
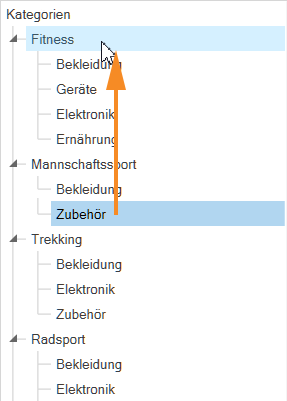
You can simply change the category allocation via drag & drop. To move a category, click on it and drag it to the desired new position.
Moving to a different category
To assign a child category to a new parent category, simply drag it to the new category.
You can also drag it in between other child categories that belong to the same parent category.
Moving to a higher category level
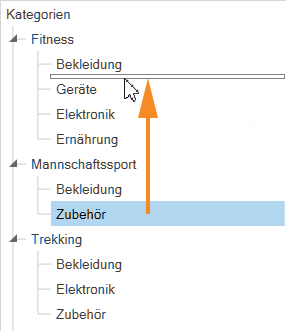
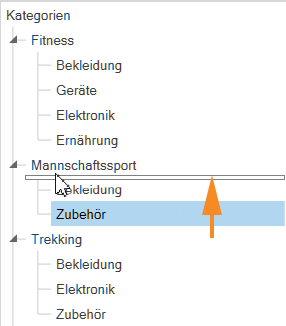
You can also move a category to the next higher level. To do this, drag the category to the position underneath the next higher category.
Adjusting sorting orders
If no particular sorting is specified, categories are sorted in alphabetical order by default. To change the sorting order, do the following:
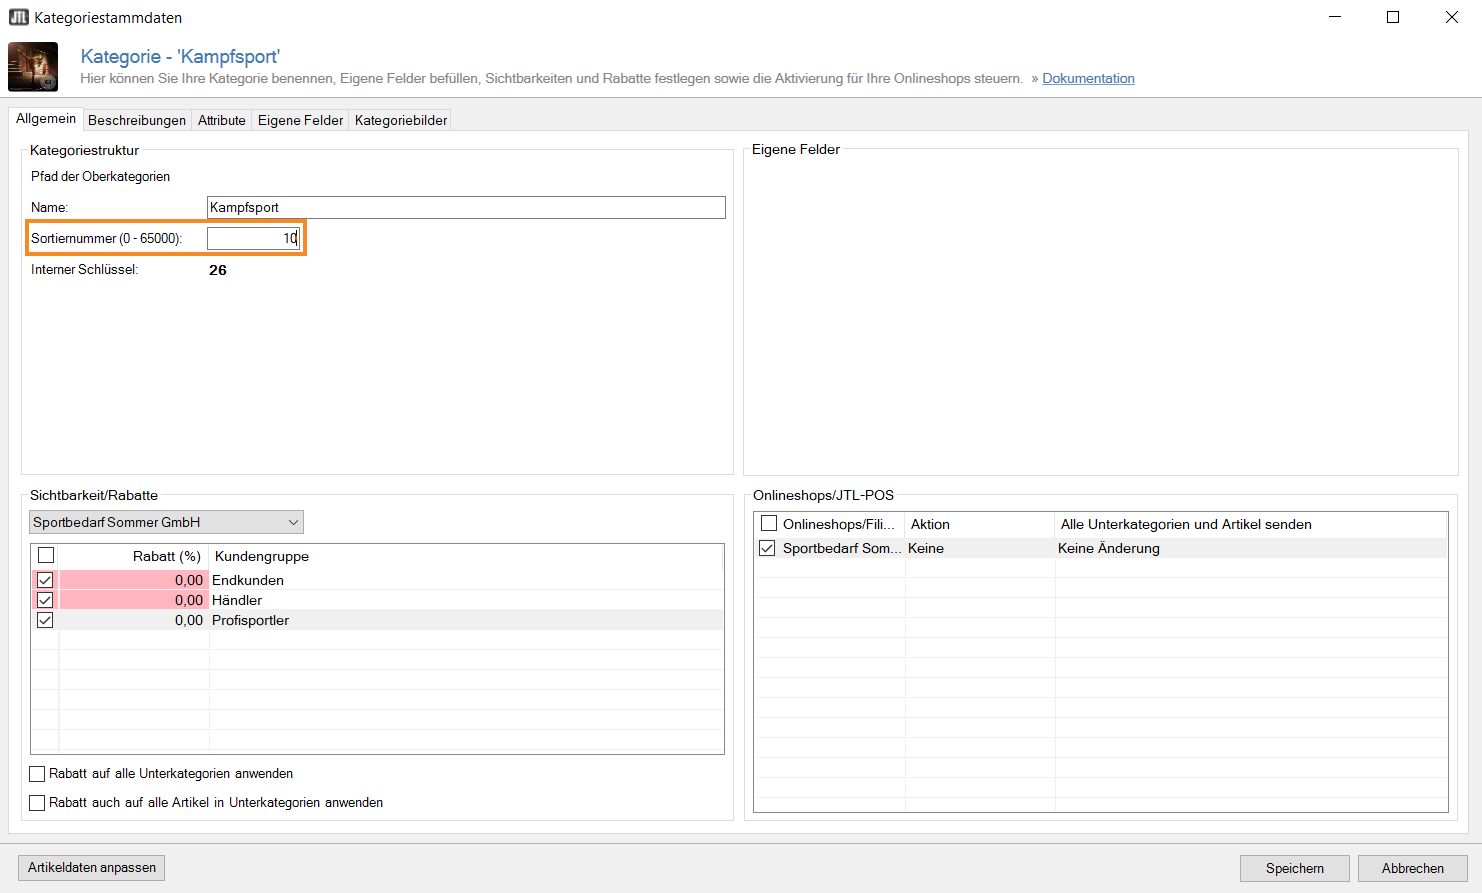
- Double-click on a category to open the category master data.
- Change the number in the field Sort number to the number of the desired position.
Related topics
