Thank you for using the English version of the JTL-Guide!
We are currently still building up the English documentation; not all sections have been translated yet. Please note that there may still be German screenshots or links to German pages even on pages that have already been translated. This guide mostly addresses English speaking users in Germany.
We are currently still building up the English documentation; not all sections have been translated yet. Please note that there may still be German screenshots or links to German pages even on pages that have already been translated. This guide mostly addresses English speaking users in Germany.
Assigning warehouses
Your task/initial situation
You negotiated a contract with a seller and authorised them as a fulfilment customer via the Fulfillment Portal. Through a data synchronisation with the JTL-Fulfillment Network, their data has been transferred to your JTL-Wawi database. Now you want to assign a specific warehouse to the seller so that they can send you goods.
Assigning warehouses
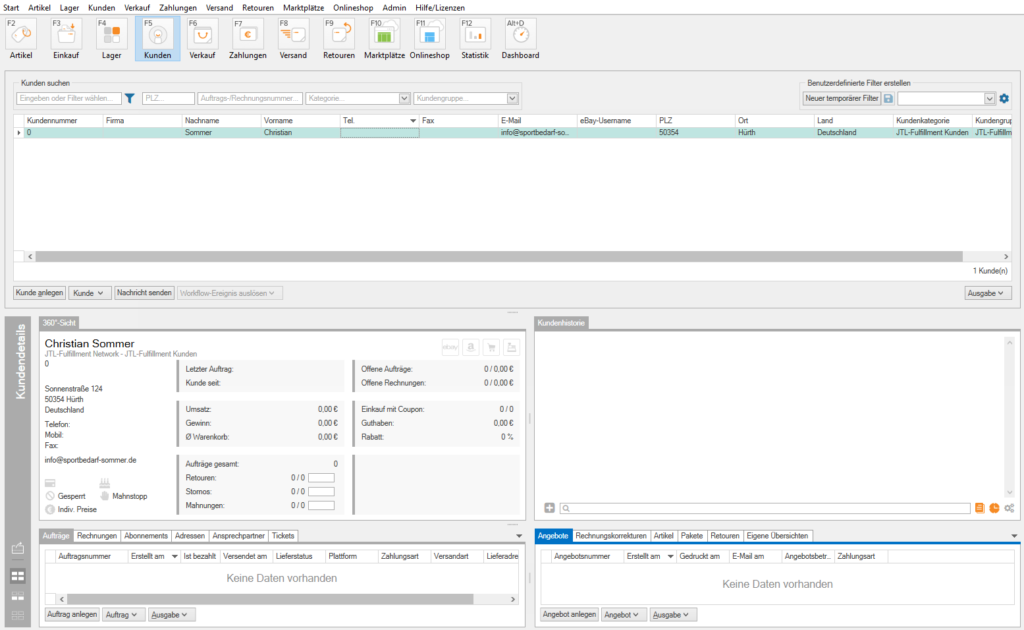
- In JTL-Wawi, go to the area Kunden (Customers). You will also find your newly authorised fulfilment customer among the customers.
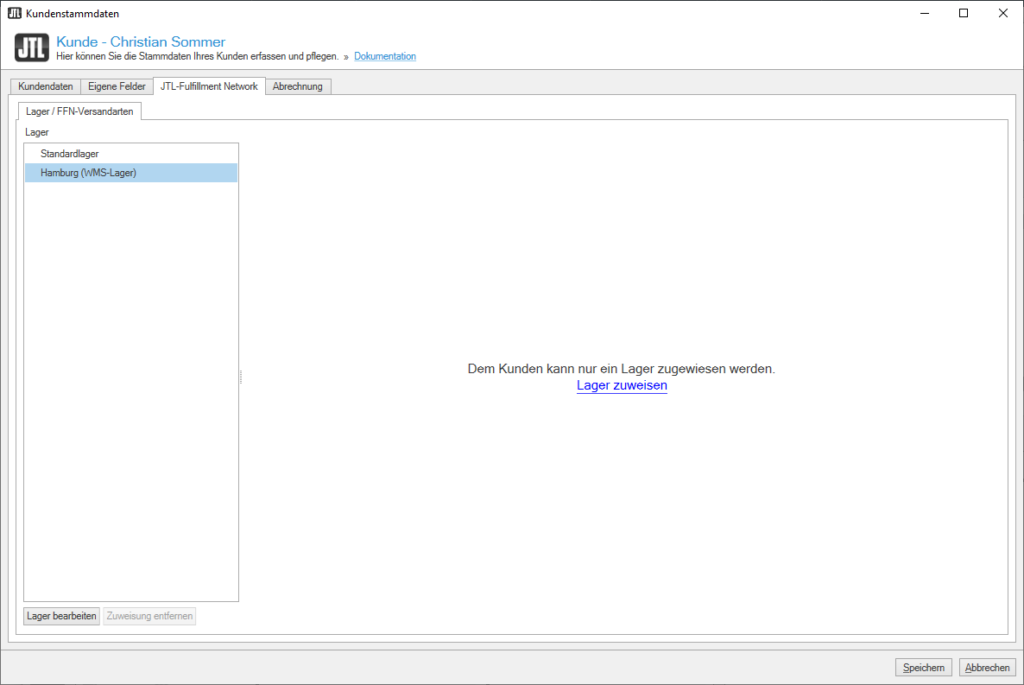
- Double-click on the customer’s name. The dialogue box Kundenstammdaten (Customer master data) opens.
- Switch to the JTL-Fulfillment Network tab. Here you can see an overview of your warehouses. The seller is not currently assigned a warehouse.
Customer master data: The seller’s customer data is transferred from their user profile to the JTL-Customer Centre and then to JTL-Wawi. The data is therefore not yet complete. Add missing information if it is necessary for the cooperation.
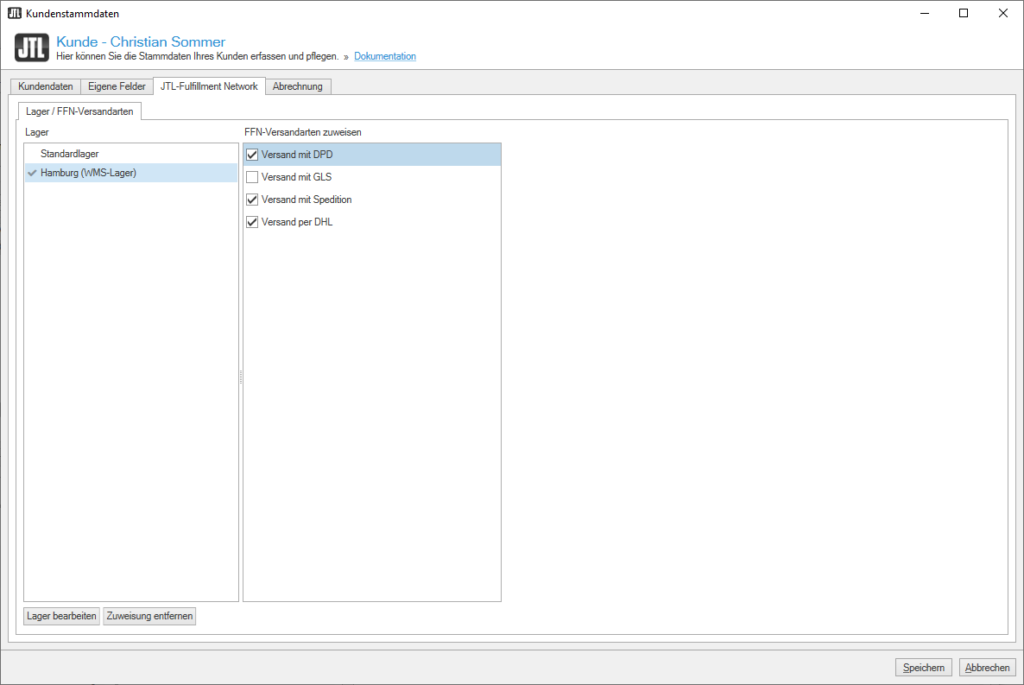
- Select the warehouse you want to assign to the seller and click on Lager zuweisen (Assign warehouse).
- Activate the FFN shipping methods you want to offer to the seller. To do this, please read: Setting up FFN shipping methods.
- Close the customer master data using the button Speichern (Save).
- Perform a synchronisation with the FFN. The seller can transfer goods to the assigned warehouse once they have performed a synchronisation with the FFN themselves.
- In the next chapter Adjusting print templates, you will learn how to configure standard templates for delivery notes and invoices and also how to print customer templates in your delivery processes.


