We are currently still building up the English documentation; not all sections have been translated yet. Please note that there may still be German screenshots or links to German pages even on pages that have already been translated. This guide mostly addresses English speaking users in Germany.
Adjusting the item overview in JTL-Wawi
Your task/initial situation
Sorting by column
By default, the item overview is sorted according to the field Sort number in the tab General in the item master data. However, you can also sort the item overview by each individual column.
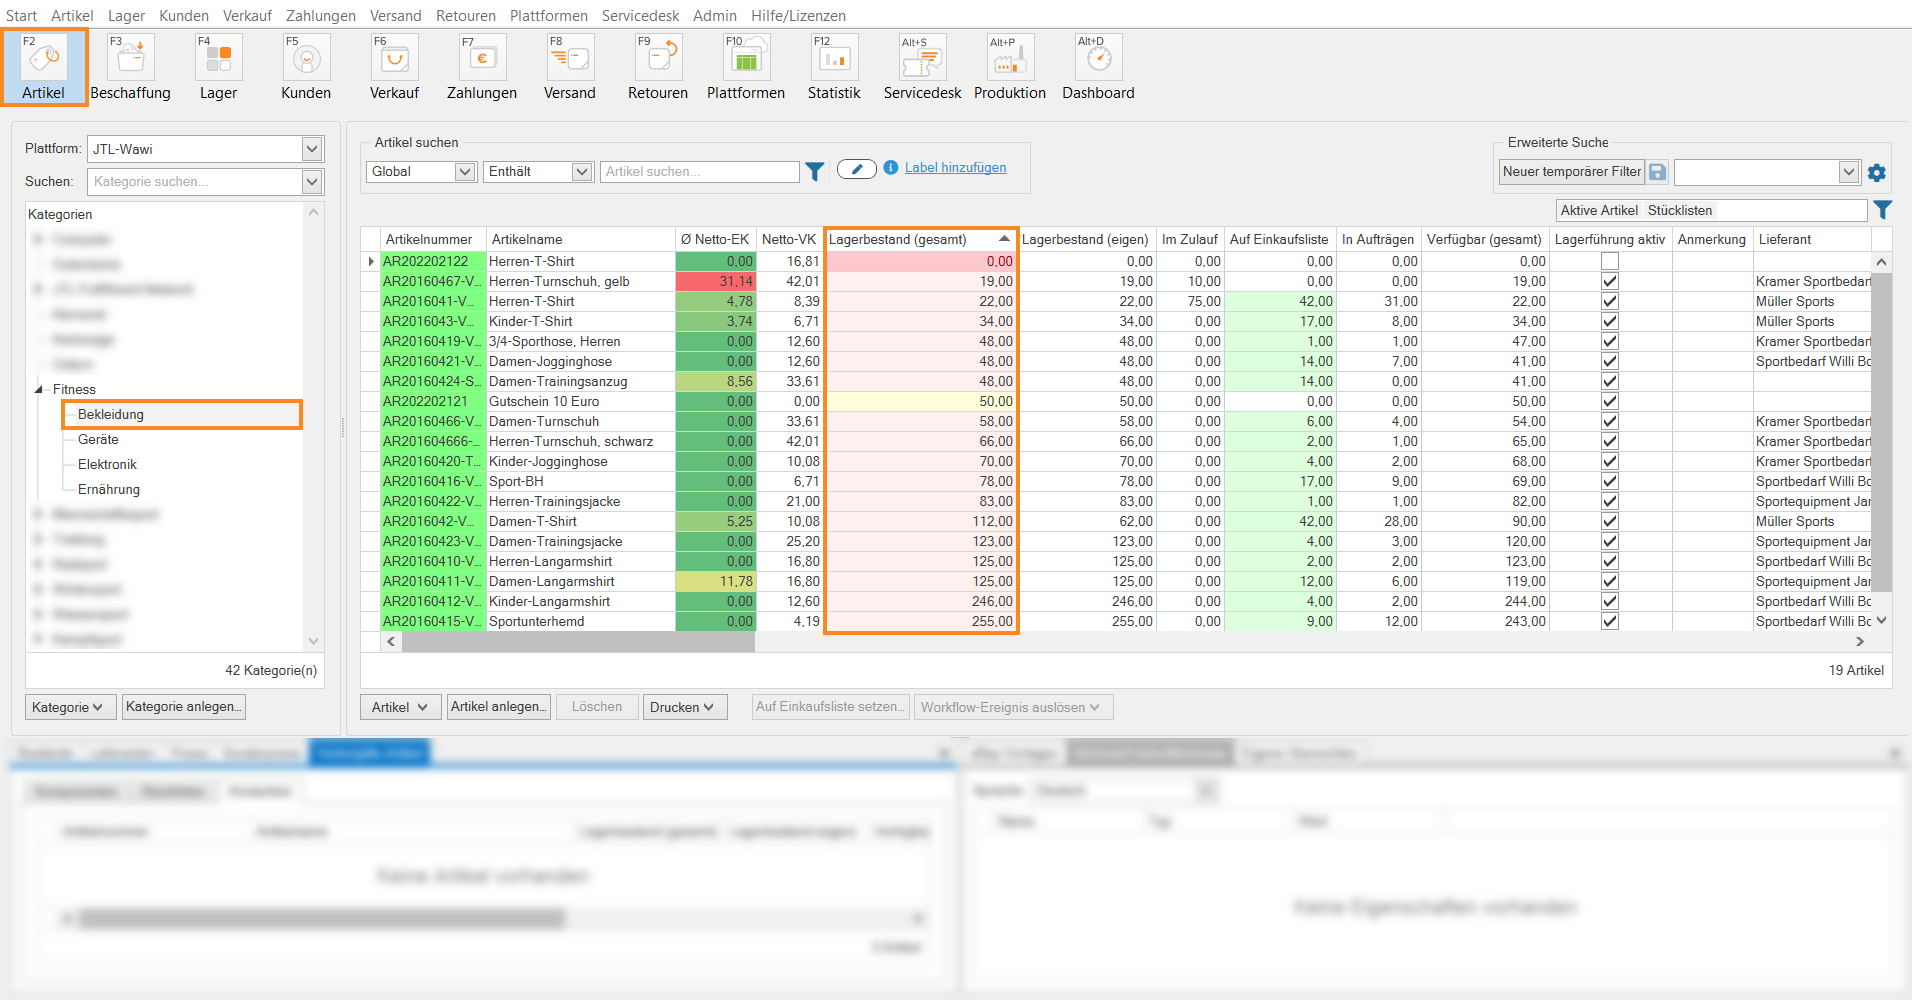
- Click on the Items icon to go to item management in JTL-Wawi. Then click on the category whose items you want to sort. You are viewing the items in this category.
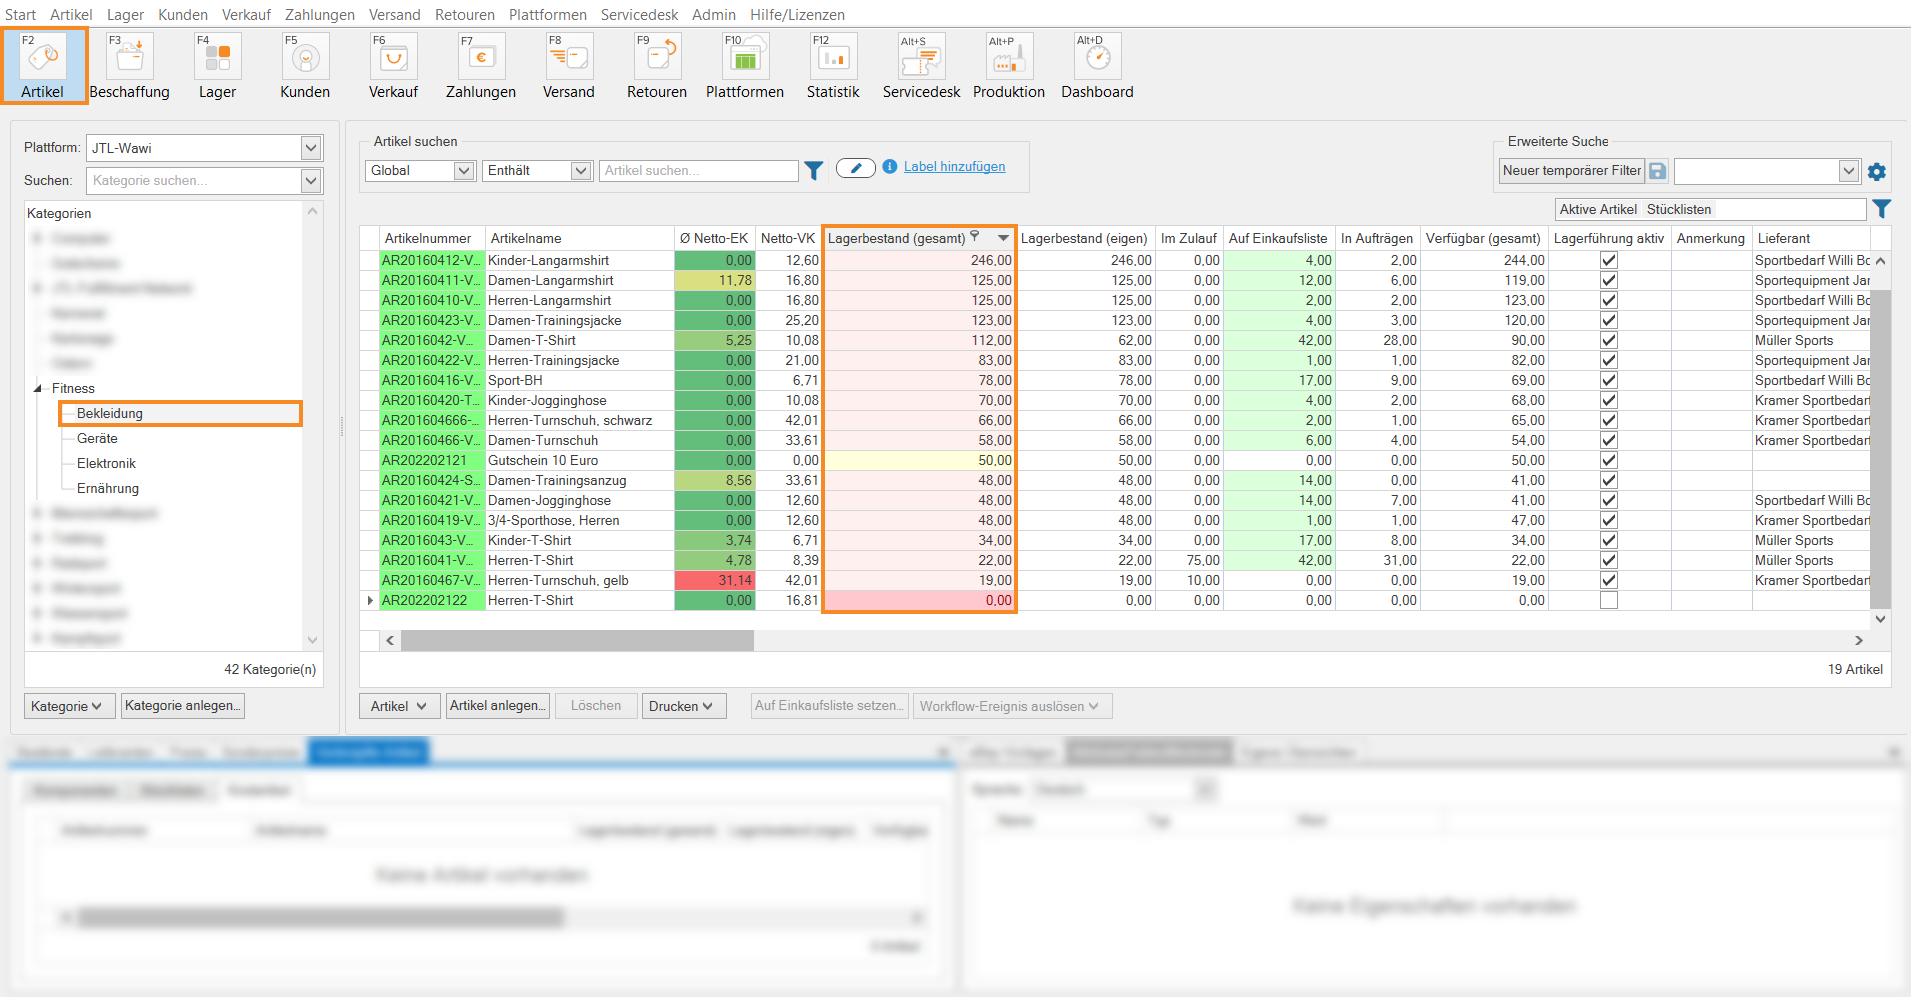
- Click on one of the column headers, in this example Total stock, to sort the item overview in ascending order according to this criterion.
- Click on the header again to reverse the sorting.
Removing sorting
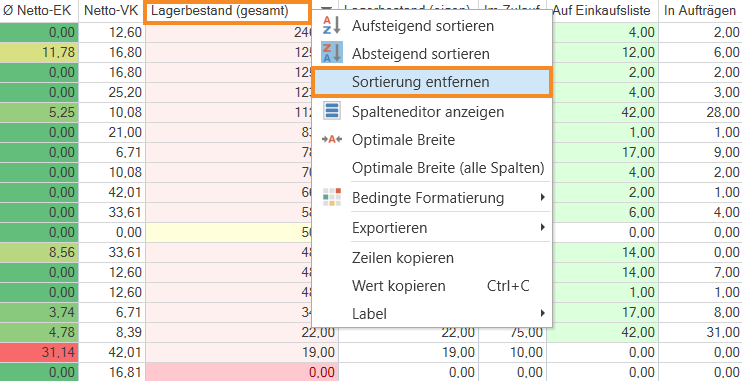
- To remove an existing sorting by column, right-click on the column header and select Clear sorting from the context menu.
Adjusting the column layout
You can customise the design of columns in the item overview and also transfer it to other users of JTL-Wawi.
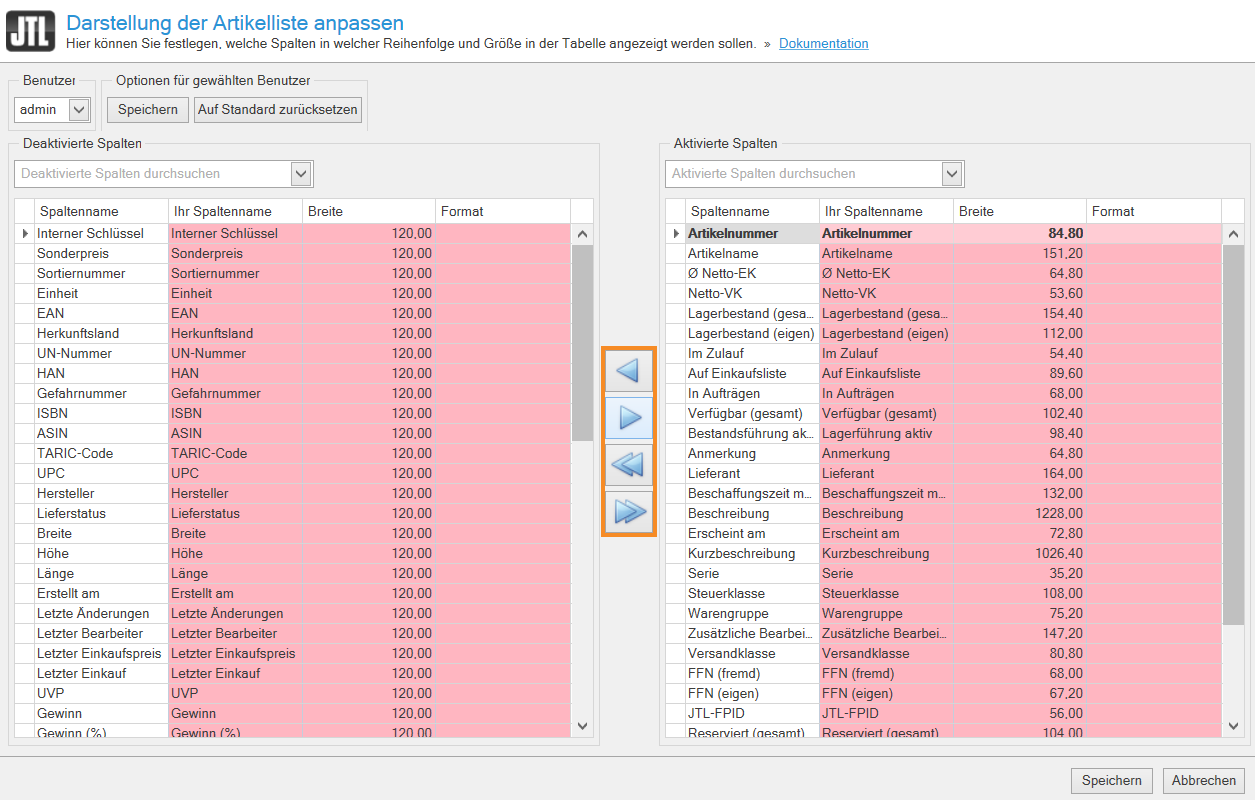
- Right-click on the column header and select Show Column Chooser from the context menu. The dialogue box Adjusting the display options for item list opens.
- In the Users drop-down menu, select the user for whom you want to adjust the settings.
Add/remove columns
In the dialogue box Adjusting the display options for item list, you will see the two panes Deactivated columns and Activated columns. All columns in the pane Activated columns are currently shown in your item overview. You add or remove columns from your item overview by moving them from the Activated Columns pane to the Deactivated Columns pane and vice versa.
- Select an entry in the column list and click on the single left or right arrow button.
Double arrow buttons: The two double arrow buttons add all columns to the opposite list, so that one list will subsequently be empty. One entry always remains in the list Activated columns, as at least one column must be visible.
Re-sorting columns
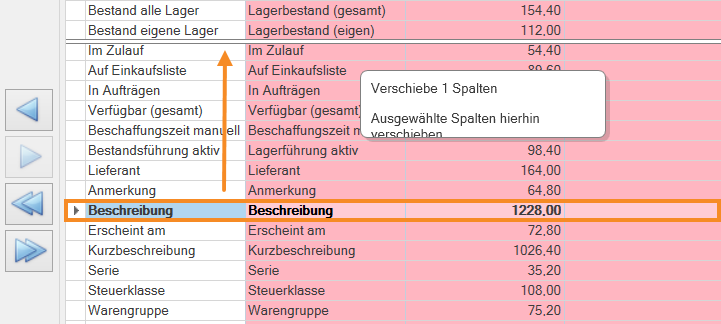
You can change the sort order of columns via drag & drop.
- To do this, drag a column to the desired new position while holding the mouse button down.
Renaming columns
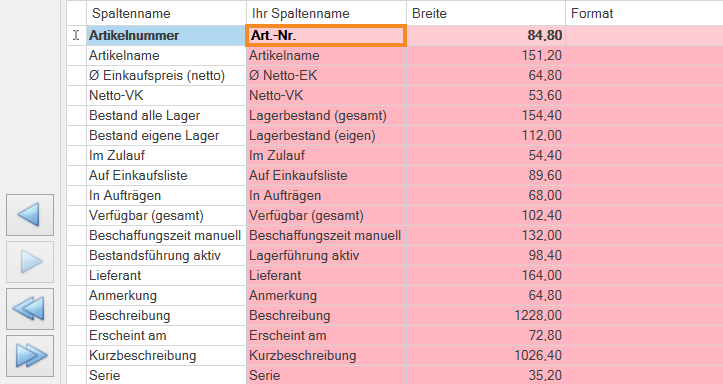
You can give customised names to your columns.
- Double-click on the desired field in the column Your column name.
- Enter the desired name.
Adjusting the column width
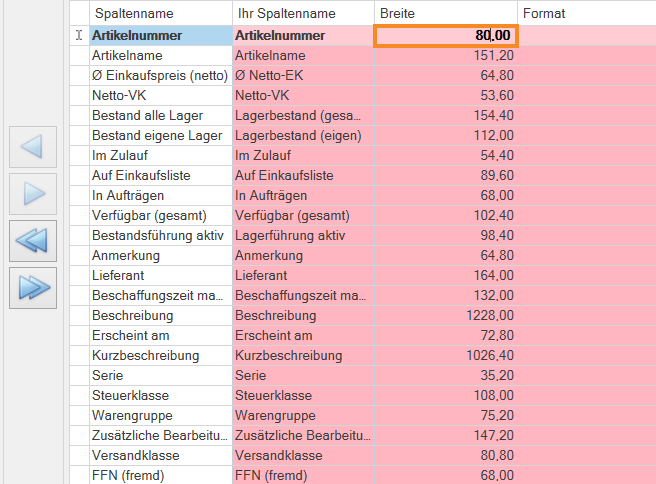
You can specify the width of a column. By default, column width is 120 pixels.
- Double-click on an entry in the Width column and enter the desired width.
Set optimum width
You have the option of automatically setting the optimum column width for each column. In this case, the maximum width required to fully display both the cell contents and the column header is set automatically.
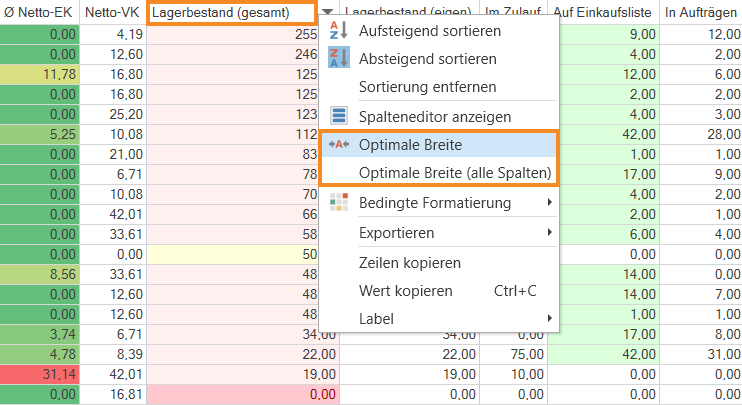
- In the item overview, right-click on a column header and select Best Fit in the context menu. The optimum width will be set for the selected column.
Best Fit (all columns): If you want to set the optimal width for all columns, select the option Best Fit (all columns) in the context menu.
Saving the layout
You have the option of sharing your locally adjusted layout with other users.
- After you have adjusted the column display according to your wishes and requirements, click Save in the Options for selected users group box.
- If you are logged in as admin, you can change the user after saving and make further adjustments to the settings.
You have now adjusted the display of the item list according to your requirements and saved it for one or more users.
Setting individual formatting in tables, such as colours and symbols
From JTL-Wawi 1.6 onwards, you have the option of using different colours, symbols, or fonts for a clear and individual formatting of your overview tables. For more information on this topic, please read the documentation Setting individual formatting in tables, such as colours and symbols.
