We are currently still building up the English documentation; not all sections have been translated yet. Please note that there may still be German screenshots or links to German pages even on pages that have already been translated. This guide mostly addresses English speaking users in Germany.
Video
Getting started: Items
This video explains how to manage items in JTL-Wawi.
Creating items in JTL-Wawi
Your task/initial situation
Requirements/Restrictions
Item types in JTL-Wawi
There are several item types in JTL-Wawi:
Creating a new item
First, we want to create a standard item.
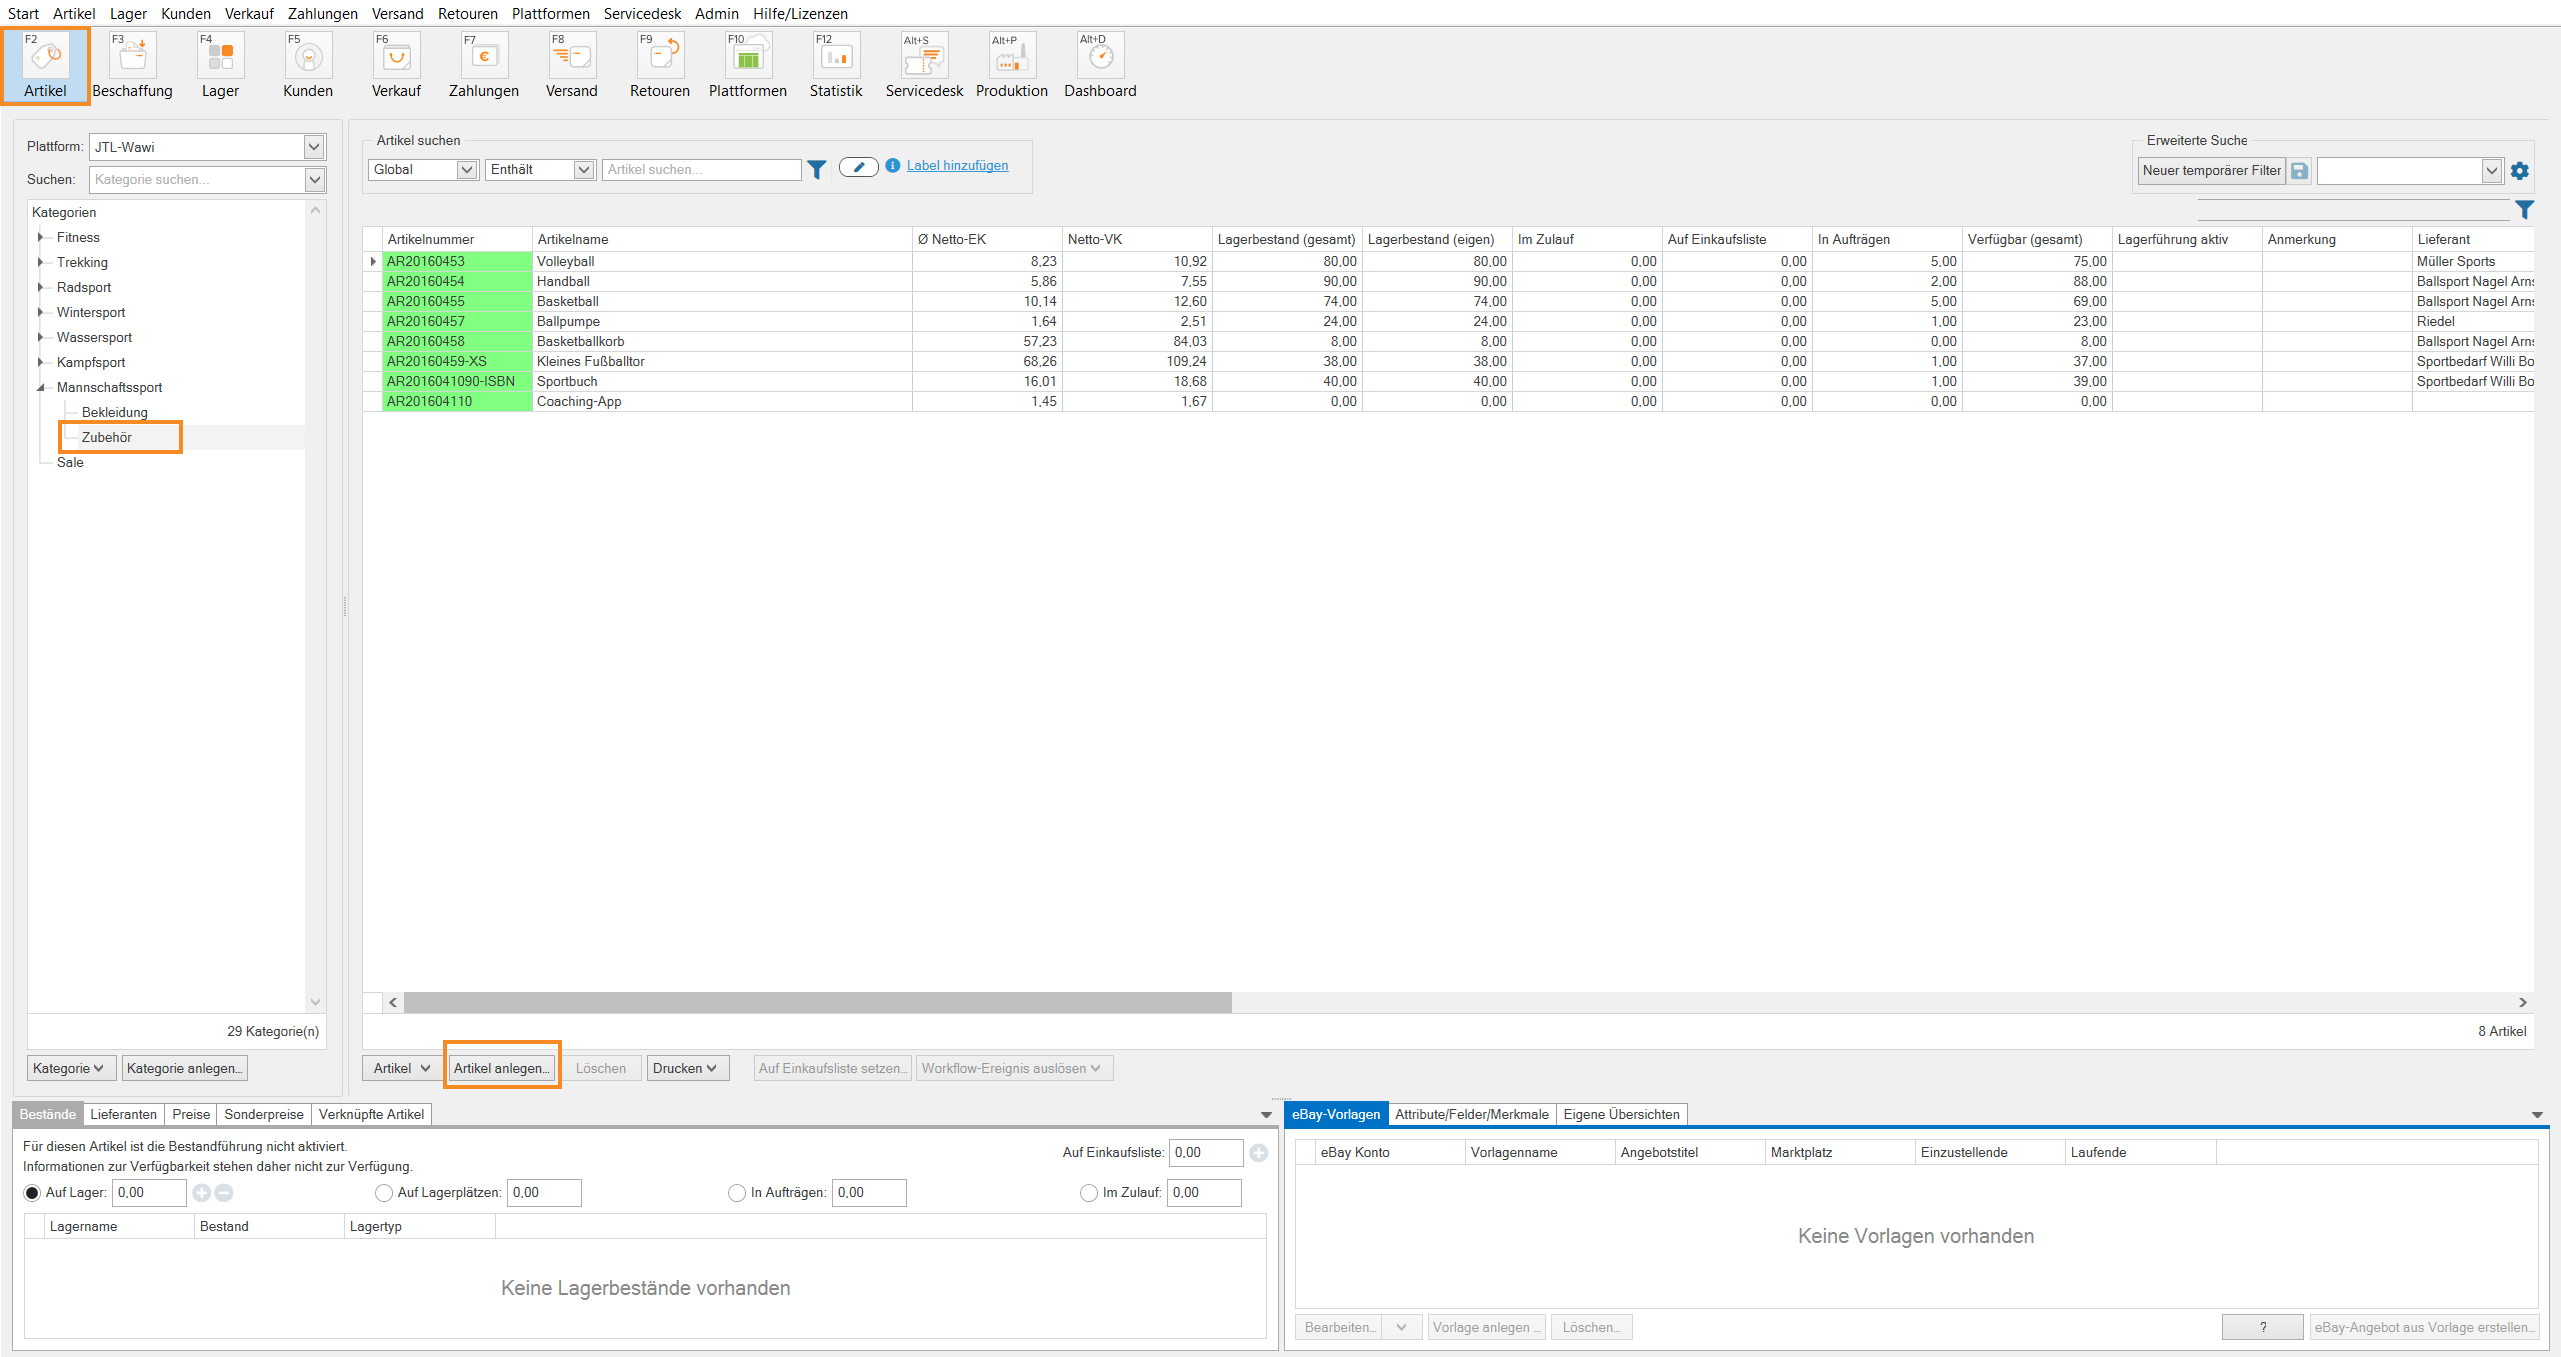
- Click on the Items icon to go to the item management.
- In the category structure, select the category in which the item is to be created.
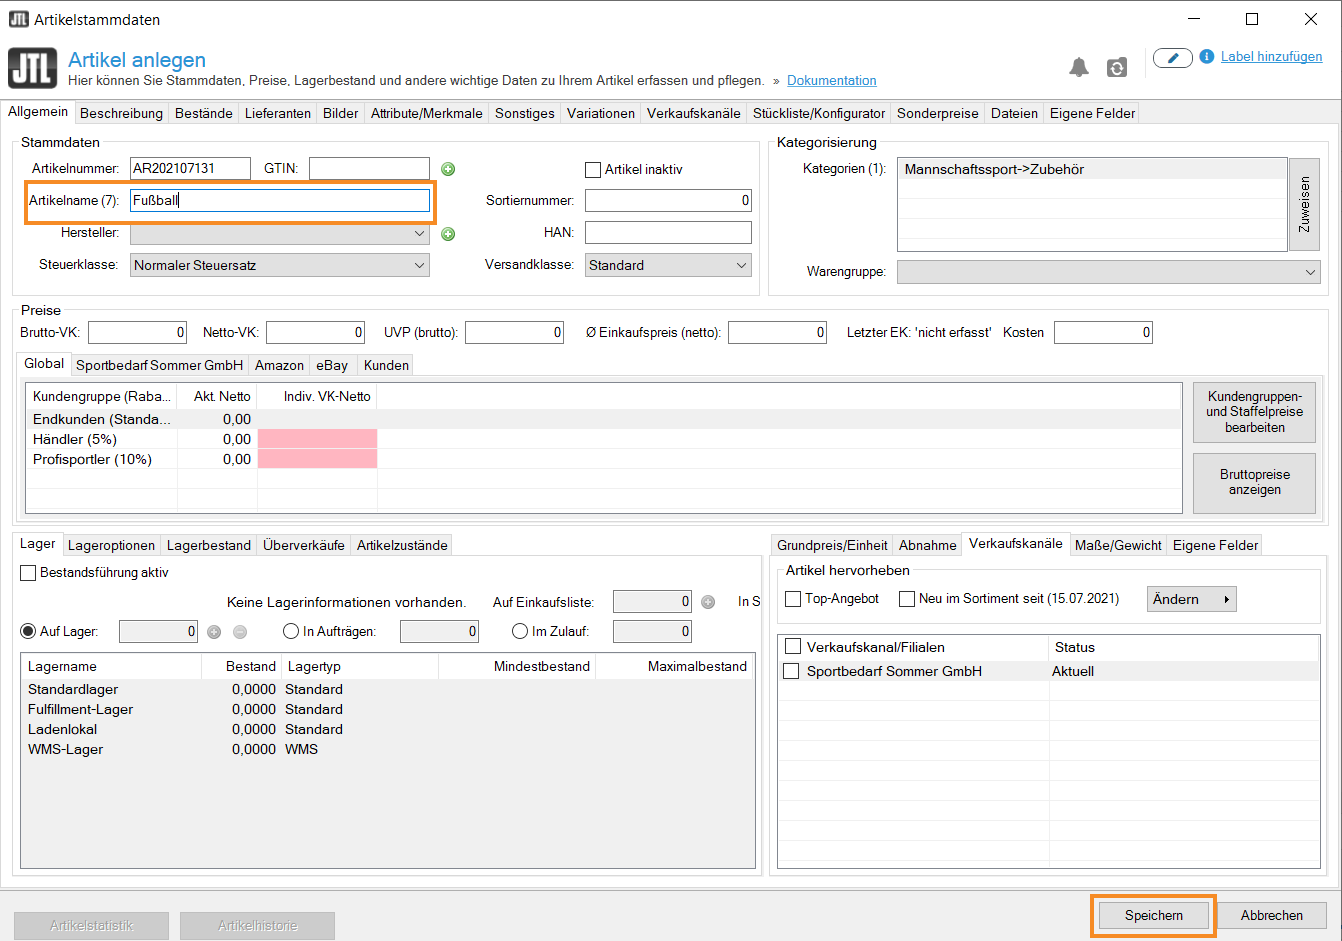
- Click Create items. The Creating items dialogue box opens.
Three entries are required for creating an item:
- Once you have entered a name, you can save and close the item by clicking Save. In the following steps, we will also add other useful information.
Entering other ID numbers
You can enter other ID numbers for your item (if you know any).
Global Trade Item Number (EAN/GTIN)
The EAN/GTIN can be entered directly in the tab General in the field GTIN. With the + button, you add the next free EAN/GTIN in JTL-Wawi to the item.
Manufacturer part number (MPN)
The manufacturer part number can be entered directly in the tab General into the field MPN. Via the drop-down list Manufacturer, you can also specify who manufactures the item.
Universal Product Code (UPC)
The UPC can be entered directly in the tab Other in the field UPC.
International Standard Book Number (ISBN)
For books, you can enter the ISBN directly in the tab Other into the field ISBN.
Amazon Standard Identification Number (ASIN) and eBay Product ID (ePID)
If your items are already sold on Amazon and/or eBay – by you or a different provider – you can enter the ASIN and/or the ePID into the respective fields in the tab Other in the pane Identification numbers.
ASIN: The ASIN is used when listing an item on Amazon.
ePID: The ePID allows you to use information from the eBay catalogue (such as product descriptions or images) for your own listings.
Deciding whether to track your stocks
When creating an item, you need to decide whether you want to use the inventory management. With the inventory management enabled, you always know how many items are still in stock.
- You can enable the option Inventory management active under Item master data > General > Warehouses.
Allow negative stock: You can also activate this option in the Negative stock tab if you want the item to be purchasable even when it is not in stock (in the required quantity).
- Go to the tab Warehouse options. You will find some more settings that you can adjust.
Item with serial number/Track serial number : If an item has a serial number, this option ensures that the serial number must always be selected when shipping the item. If you also activate Track serial number , the serial number must also be entered during goods receipt.
Shelf life expiration date (SLED): If you enable this option, you need to enter the SLED during both the goods receipt and the goods issue of the delivered item.
Batch: If you enable this option, you need to enter the batch number of the item during both the goods receipt and the goods issue of the delivered item.
Split quantity: Select this option from the drop-down list if you want customers to be able to buy any quantity of this item. This option is useful for items that are weighed before they are shipped.
Setting up prices
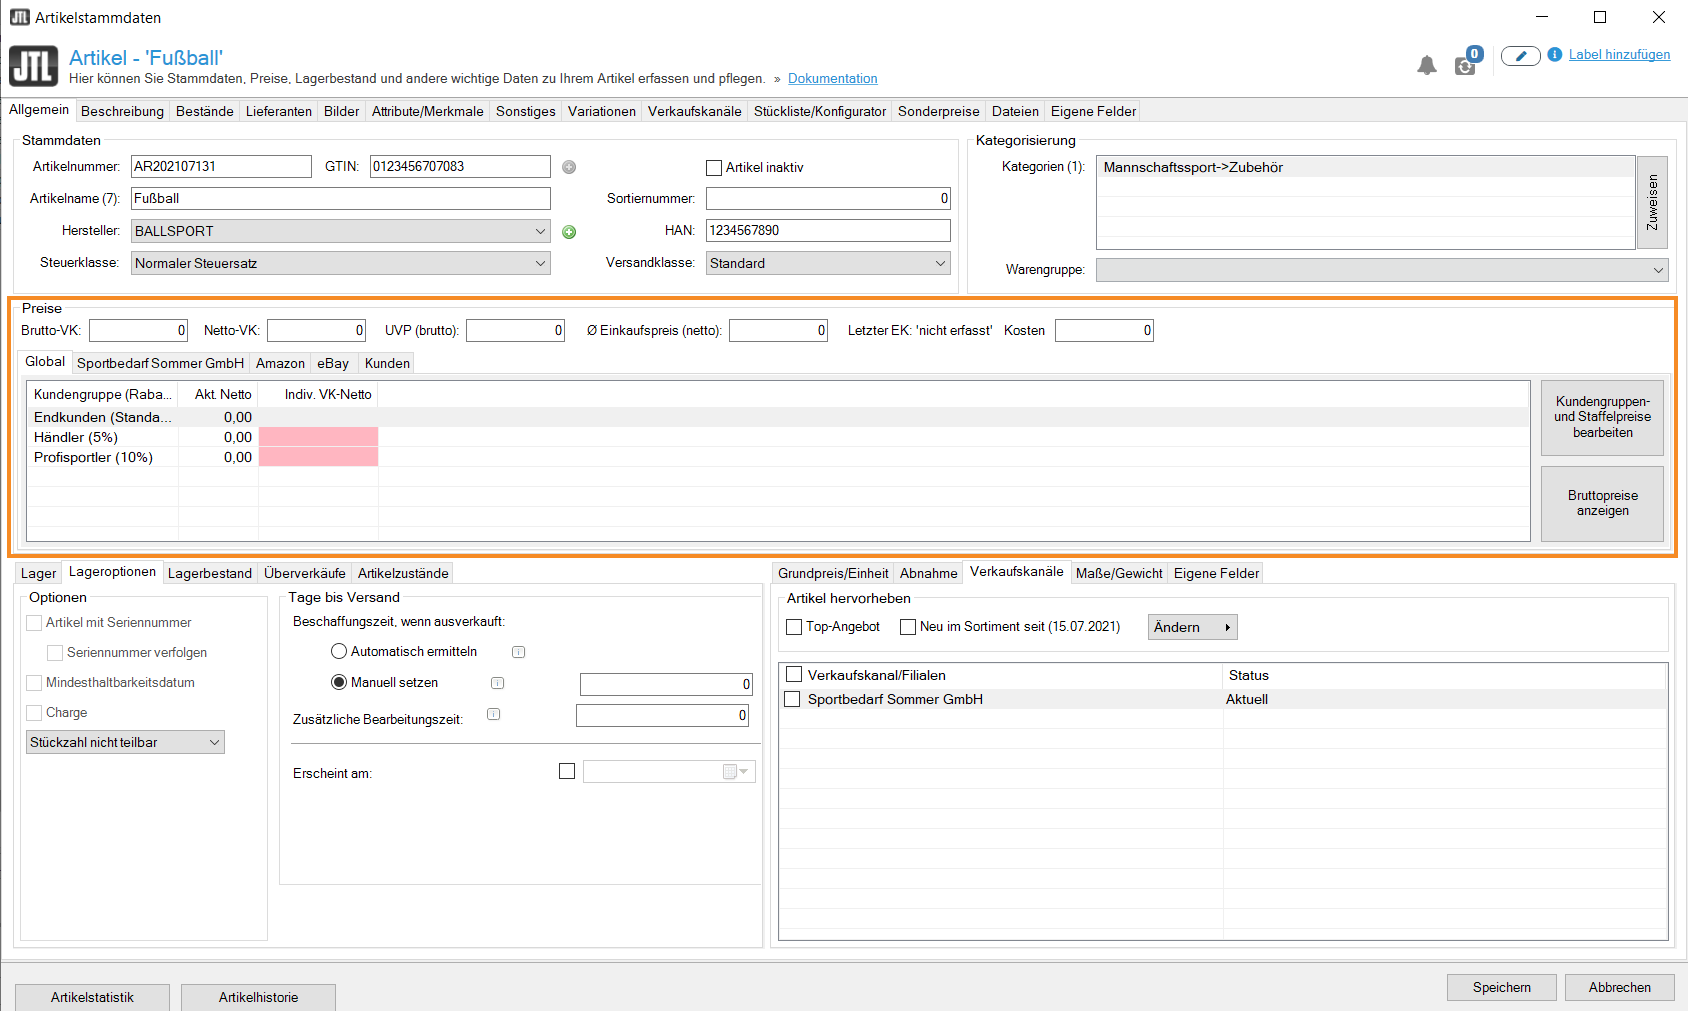
You will usually want to sell your items for a specific price. In the General tab in the item master data, you can set the prices according to your requirements in the Prices pane.
The pane contains general prices and individual tabs for the different platforms, such as JTL-Wawi, Amazon, and eBay as well as your online shops. There is also the Customers tab that allows you to enter custom prices for special customers.
Gross/Net sales price: Enter the standard price for the item. Gross and net will be automatically calculated on the basis of the respective tax class.
Indiv. gross sales price : In the tabs for the respective platforms, you can set individual prices for each platform. If you manage more than one customer group in JTL-Wawi, please note that the custom price is valid only for the respective customer group.
Adding item dimensions and weight
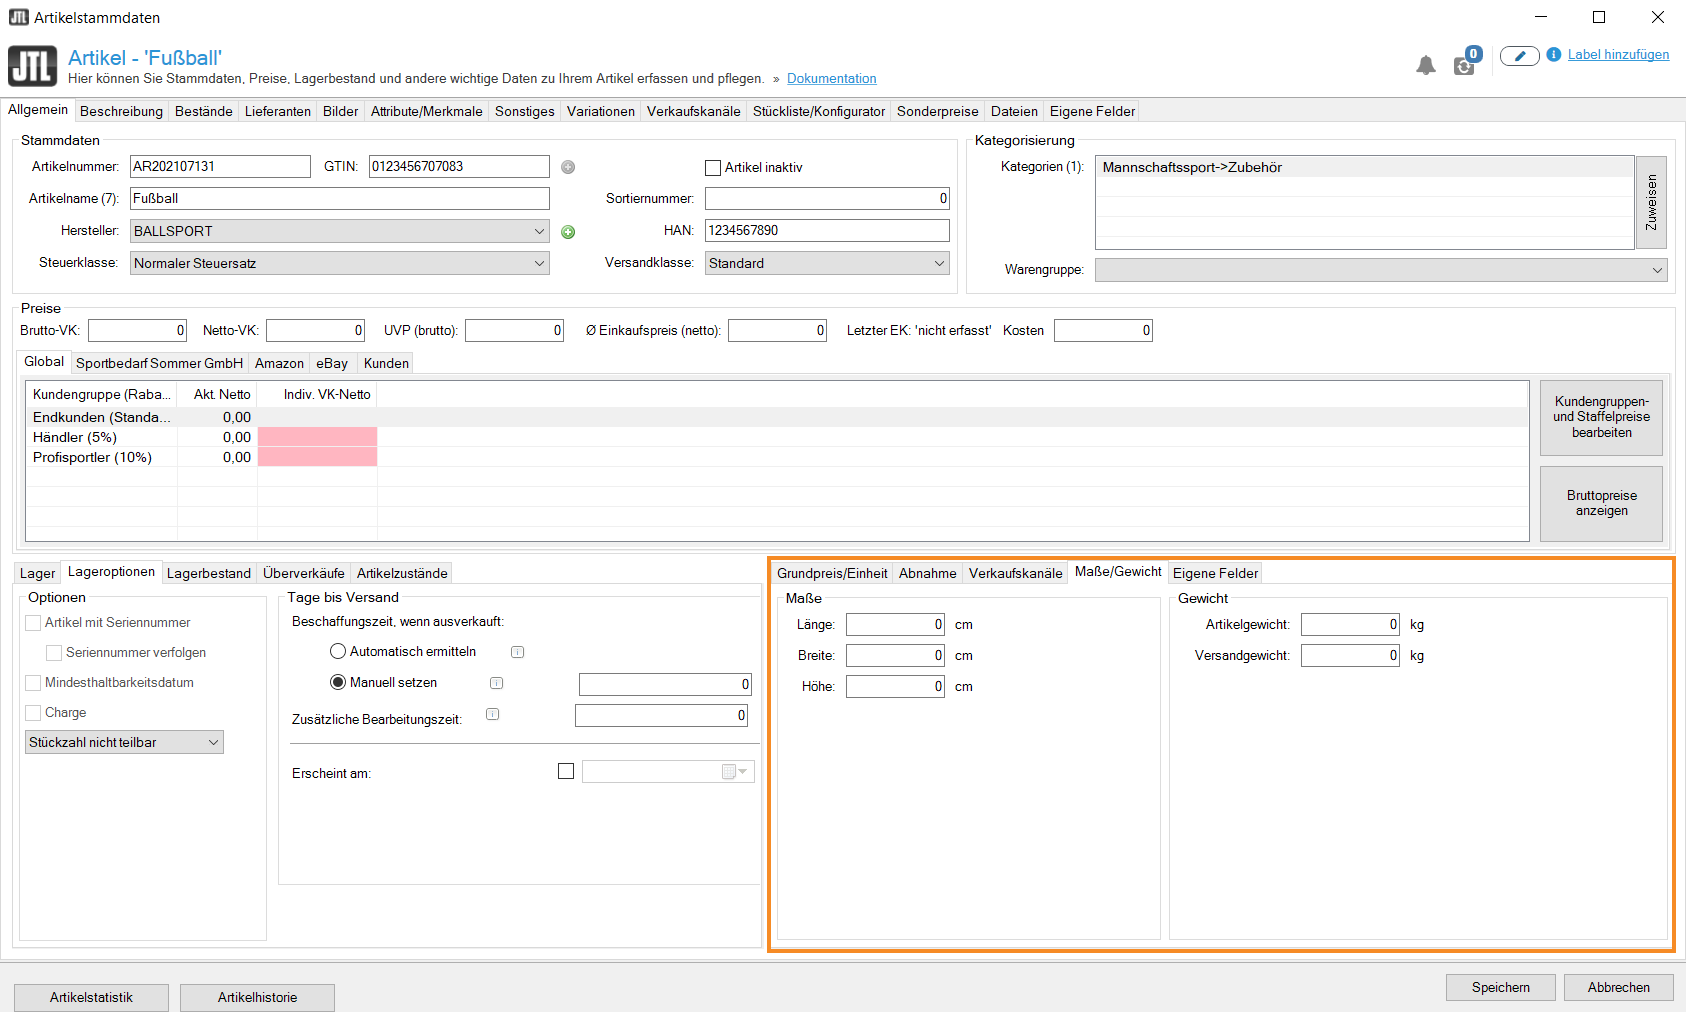
If you know the dimensions of an item, it makes sense to enter them when you first create the item. They will be required for automatically calculating the shipping weight and in JTL-WMS.
Adding descriptions
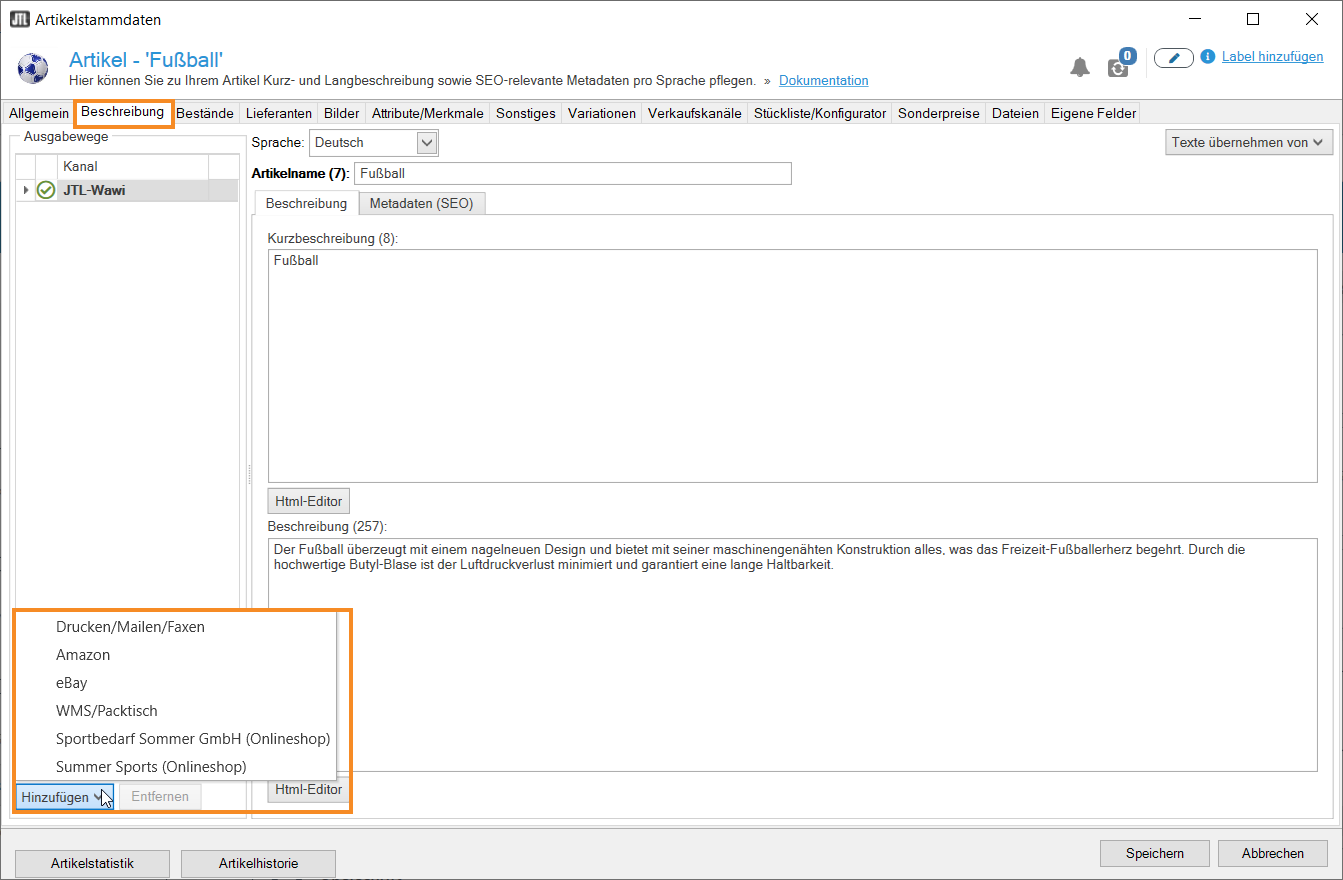
In JTL-Wawi you can add individual item descriptions for each sales channel.
- In the item master data, go to the Description tab.
In the left pane, you can select various output methods that represent your sales channels via Add. This function allows you to define different descriptions for individual sales channels, if required. By default, JTL-Wawi is displayed here and if you do not store any further descriptions, it is used for all output methods.
Brief description: Enter a brief description that is to be displayed, for example, directly under the item.
Description : Enter a detailed item description.
- Click Add. A drop-down list opens. Here you can select the output method for which you want to write a description.
- Click Add. You can now enter the description.
Adding images
You can add images to your items for each platform.
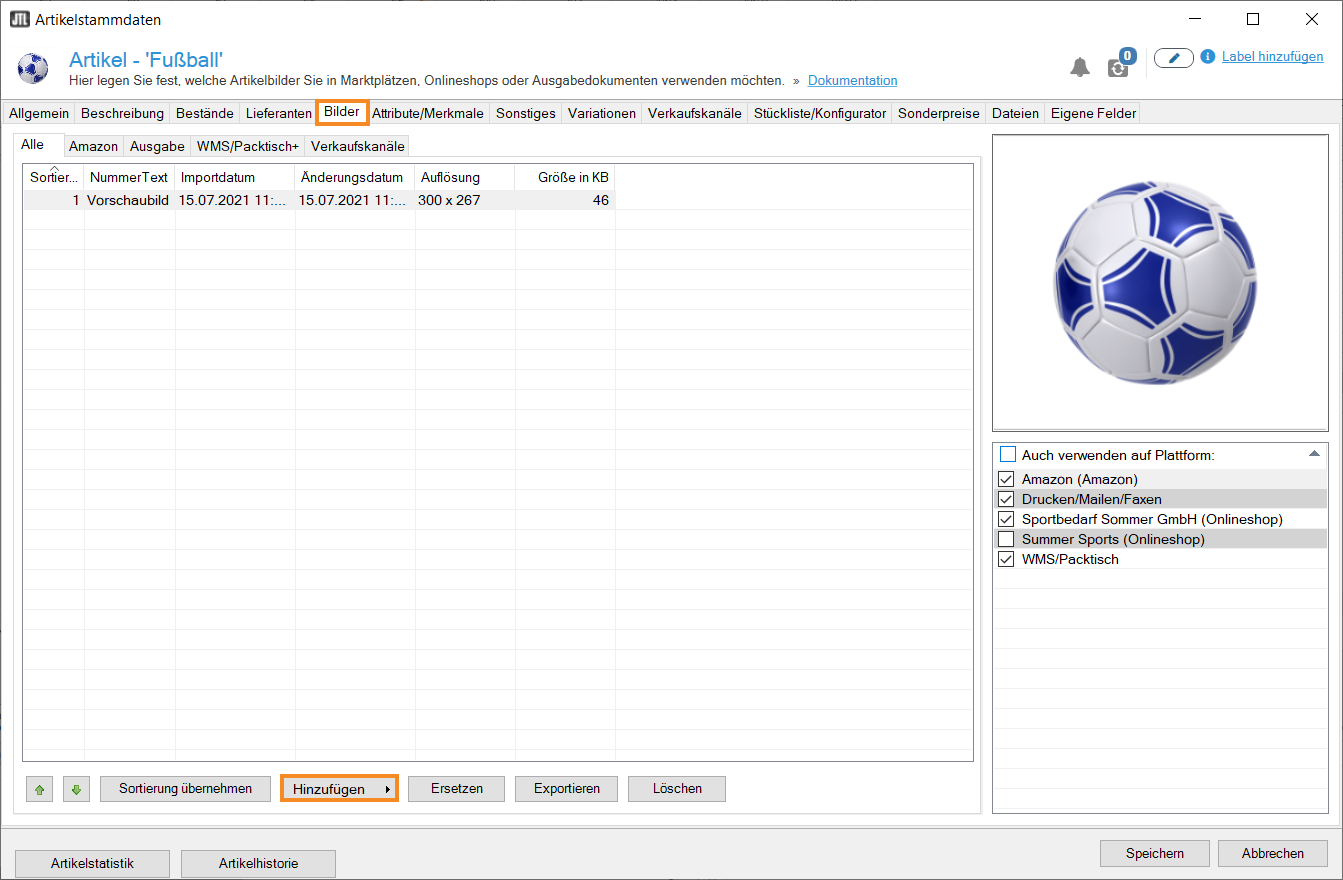
- In the item master data, go to the tab Images.
The images in the tab can be used for all output methods.
- Click Add. The Adding images dialogue box opens. Navigate to the desired file. Open the image by clicking Open.
- In the right pane, you can choose on which platform the image will be displayed. Select Also use for platform to use the image across platforms. Alternatively, you can also select individual check boxes.
- Repeat these steps for all other images. Using the up and down arrows, you can change the images’ sort order. If you want to edit individual images for one platform only, you can also go to the respective tab.
Other settings
This tutorial only contains the most important settings in the item master data. A detailed description of all fields can be found here:
Video
Getting started: Items
This video explains how to manage items in JTL-Wawi.
Related topics

