Thank you for using the English version of the JTL-Guide!
We are currently still building up the English documentation; not all sections have been translated yet. Please note that there may still be German screenshots or links to German pages even on pages that have already been translated. This guide mostly addresses English speaking users in Germany.
We are currently still building up the English documentation; not all sections have been translated yet. Please note that there may still be German screenshots or links to German pages even on pages that have already been translated. This guide mostly addresses English speaking users in Germany.
Creating items
Your task/initial situation
You have already created a category structure (see Creating categories) and would now like to create your first item. You would like the cashier to be able to enter the item by its PLU (price lookup code). To make it easier to identify the item, add an item image.
On this page you will learn how to manually create items in JTL-POS. Alternatively, you can also import items and their respective data with the CSV import function of JTL-POS. If you connect JTL-POS with JTL-Wawi, i.e. use JTL-POS ERPConnected, you can activate categories and items in JTL-Wawi for JTL-POS and transmit them to JTL-POS with the next automatic data synchronisation. Further reading: Activating and deactivating items in JTL-POS.
Item types in JTL-POS
It is possible to manage several different types of items in JTL-POS.
Creating items
First, we will create a standard item.
- Go to the menu and open the Items menu item. The Manage items dialogue box will open.
- Go to the category in which you would like to create the new item.
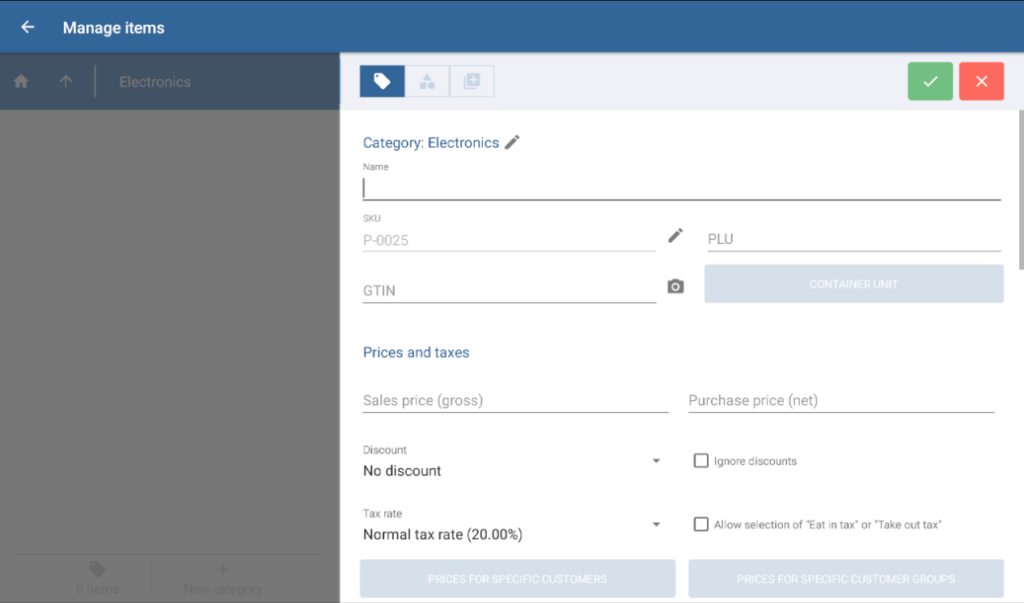
- Tap on the Create button (plus icon). The Manage items dialogue box will open.
- Optional: If you have not selected a category yet, or selected the wrong one for the item, tap on the pen icon next to the category. The Select category dialogue box will open, from which you can select one of the categories you have created.
- Enter the name of the item into the mandatory Name field.
- Make sure that you enter a SKU in the SKU field.
Please note: The SKU is automatically created on the basis of the defined number range (go to the Defining number ranges dialogue box). Alternatively, you can also enter your own SKU in lieu of the automatically generated one. Please note that manually creating or editing SKUs without automatic number ranges may lead to duplicate and, therefore, ambiguous SKUs.
- Enter the price lookup code into the PLU field.
- Into the Sales price (gross) field, enter the item’s gross sales price (tax incl.).
- Check whether the default tax rate is valid for the item and, if necessary, select a different one.
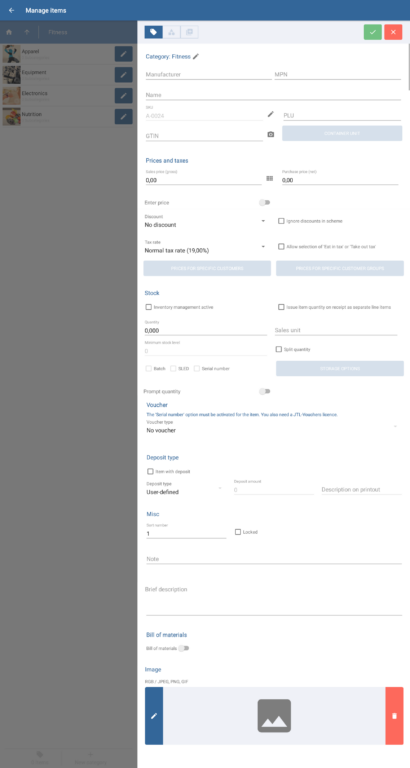
- Enable the option Inventory management active if you want to track the currently available stock level. Under Quantity, enter how much of the item is available.
- Enter any remaining item data required. For a list of all options, please see: Item master data.
- In the Image section, tap Edit to open your device’s Gallery and select an image.
- Once all required data has been entered, tap Save.
The created item will now be displayed in the item overview. It can now be put on receipts and be sold.
Related topics

